Best Practices for Displaying Posts on WordPress Using Elementor
- Introduction
- How To Display Different Post Types On Pages With Elementor [A Step-by-Step Guide]
- 5 Brand New WordPress Themes For Blogging
- Wrap Up
Introduction
I’ve noticed that some web users neglect the importance of a blog on their websites. Yet, it has been proven to be one of the most important instruments used to increase traffic and engagement. Besides, the blog will help you give the impression of a trustworthy web resource. If you’ve decided to use a blog on your site, I recommend considering the best practices for making it more sophisticated. The following step-by-step guide will show you the ways you can improve the look of your blog posts.
Are you looking for more recommendations on how to launch WordPress site, take a look at our easy WP guide.
Enjoy the read!

How to Display Different Post Types on Pages with Elementor [A Step-by-Step Guide]
In this paragraph, you will find the best practices for displaying posts on blog pages using Elementor Page Builder. Please, be aware that all the manipulations are made using 24.Storycle WordPress theme. To succeed with displaying posts in different ways, you need a template with Elementor editor, JetBlog, JetBlocks, and JetElements plugins. The last ones may already come with the theme or can be purchased from Elementor marketplace. Once you are all set, let’s start with the tutorial:
- Open up Elementor editor and create a new section.
- Grab the Text Ticker widget and drop it onto a new section. Right-click on the section and choose Save as Template. Enter the template name, such as News Ticker, and then click Save. For now, you can find it in the Elementor library along with the other default templates available with the 24.Storycle theme.
- Go to the header section and click Edit Header.
- Once you are redirected, navigate to a New Section block and click on the folder sign. Open My Templates, find the recently saved template you named News Ticker, and press the Insert button. Choose No when you are asked if you want to import the document settings of the template. Once finished, the ticker gets added to the header and you may delete the one that has been under it.
Further, you will find the Smart Posts Tiles widget. It arranges your posts in a similar way. It includes navigation arrows allowing you to switch between the boxes and see various posts. The tiles save space on your page and let you show all the necessary information about the post. It contains metadata, categories and tags, a title and description. You may apply any changes using Elementor editor and playing with the settings if needed.
Next goes the Smart Posts List. It enables displaying different posts in a similar blog. Using posts list you can navigate the posts by filtering them by categories. The navigation arrows are also available. Also, you will find the Video Playlist widget that is also available at JetBlog add-on. When you know what all possible posts can look like, let’s move on further and create our own.
- Go back to Elementor editor and create a new section.
- Navigate to the Elements panel and enter Posts into the search bar. Drag-and-drop the Smart Posts Tiles widget into a new section.
- Go to Content > General, select the appropriate layout, and change the Minimum Height if needed. Switch on/off to show or hide post terms including categories and tags. If you’ve decided to leave the categories or tags, set the maximum terms to show. Set maximum Title Length and Excerpt Length. If you want to show post data, the author, or date, just enable these options.
- Navigate to Content > Query & Controls and select Post Type and Query Posts by options. You can also set the categories you want your visitors to get the posts from and exclude specific posts by IDs.
- Go to the Style tab > Box, change the Gap Between Boxes, and choose an appropriate Box Overlay. Further, you may play around with the settings in Content, Meta, Terms Links, Paging Arrows, and Custom Fields sections.
- To enable navigation arrows, return to the Content tab > Query & Controls, switch on Enable Carousel and Show Controls Arrows.
- Go back to Style > Paging Arrows, set the arrows positioned the way you like, and change the background color.
Now, let’s try to create Smart Posts List from scratch.
- Go to Elements Panel and find the corresponding widget. Drag-and-drop it to a recently created new section.
- Most of the settings are the same. What you can do is to enable Show Paging Control in Content > Query & Controls and set Widget Title in General. Let’s say it will be Trending News. Then, you can change the type of the layout in the corresponding settings.
- Back to Content > Query & Controls, select Show Filter by Terms and terms type. In case you have a lot of categories, you may enable RollUp Extra Terms.
- Go to the Style tab, apply changes to the typography, and other style settings if needed.
Finally, we get to the Posts widget which is included in JetElements plugin.
- Return to Elementor editor and create a new section. Navigate to the Elements Panel and find the above-mentioned widget.
- Click on the folder sign in the new section, go to Blocks, find Category drop-down, and find the ready-made presets. They are Jet Post Carousel, Slider, and Grid.
- Choose Jet Post Carousel preset, find the option you like, and click the Insert button. It will then appear on your blog page. All you’ll have to do is just change the style of your blog by experimenting with the settings.
These were the best practices used to make your blog more advanced and modern.
5 Brand New WordPress Themes for Blogging
If you are a WordPress user, you should know well the most popular templates for blogging. Not to repeat it twice, I’ve decided to share with you the themes that have been recently added to TM marketplace. The list consists of five user-friendly templates suited for photography portfolios, communication projects, business, sports activity, and food. All of them feature a fully responsive layout and a bunch of steep features contributing to a code-free site building experience. Take your time and check out each of them to opt for the one that would best meet your needs.
Lady Marry
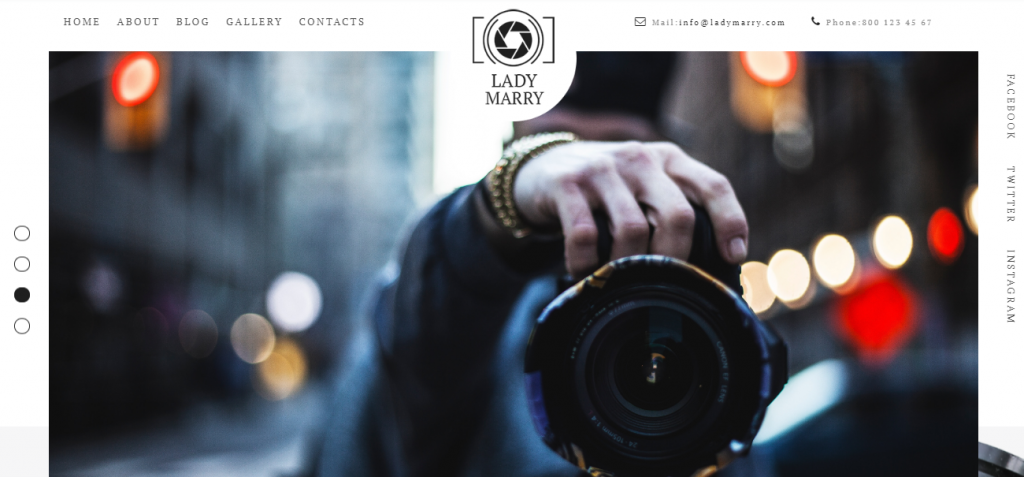
Lady Marry is a brand new WordPress theme specifically developed for photographers who want to make a blogging website. Its fascinating design in conjunction with high functionality will help you provide an eye-catching presentation of your photo works. A set of pages including Latest Photos, Contact, and News pages delivers an easy way for you to deal with website customization. Meanwhile, the integrated Elementor Page Builder allows you to alter your site without touching a single line of code. Among other features available inside the package are the following:
- JetElements add-on
- Contact Form 7 plugin
- Blog functionality and Related Posts
- Ecwid plugin, etc.
Chatty
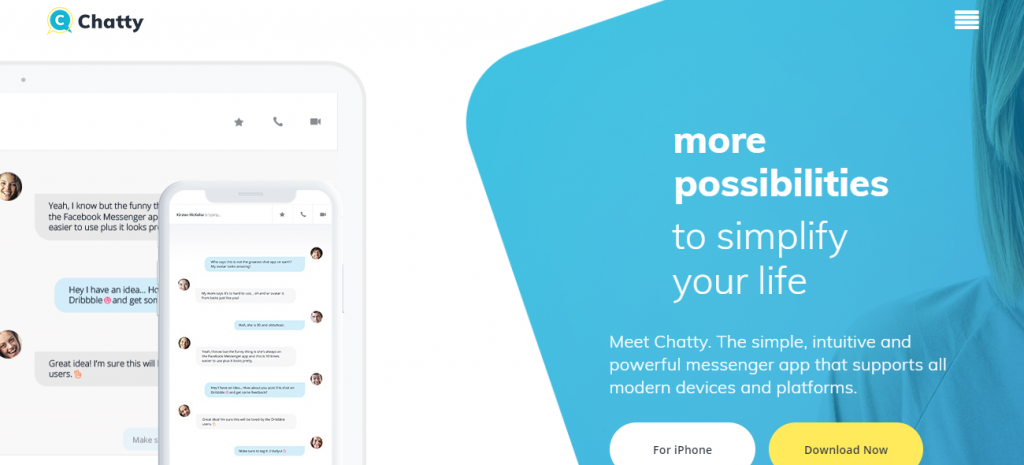
If you are going to establish a website with a communication service, Chatty would be a perfect choice. It has a fully responsive, clean, and minimalist design which allows you to focus on the main purpose of the site. Additionally, the template contains Jet add-ons which lets you create various modules not available at the standard Elementor package. Featuring blog functionality, Chatty will help you increase the traffic and engagement rates on your site. The rest of these options are also available at your disposal:
- Ecwid plugin
- Multilingual support
- WordPress Live Customizer
- Testimonials modules, etc.
Namaste
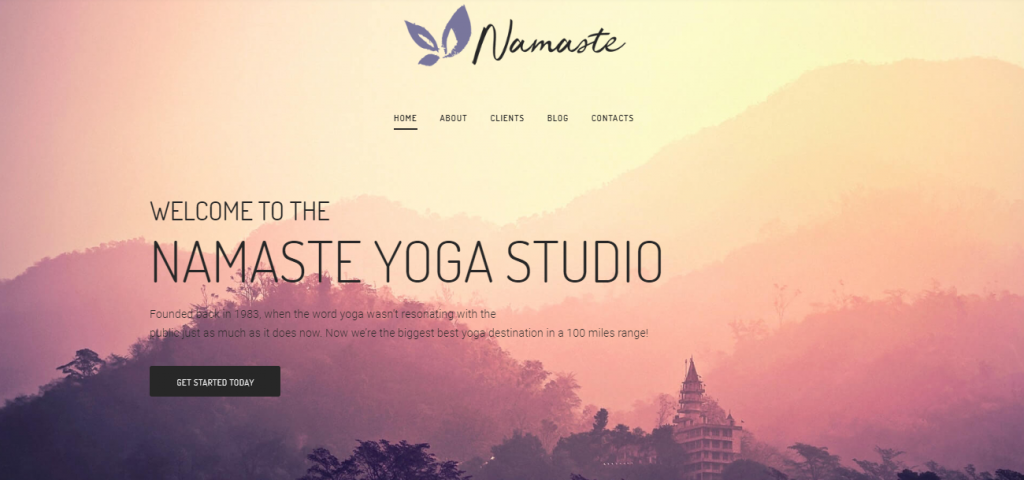
Do you want more people to get acquainted with yoga? If your answer is yes, I’d recommend that you advertise your studio online using Namaste WordPress template. Developed specifically for spiritual practices it features a conceptual and captivating design which will attract even the most skeptic people. Besides, featuring Bootstrap in a core it contributes to website mobile-friendliness and flexibility. The other options are as follows:
- Alternative Module Layouts
- Ecwid plugin
- Blog functionality
- Team Members & Testimonials module
ONE subscription service recently launched by TemplateMonster is one of the biggest sources of items for website building. Inside the package, you’ll find 8,500+ elements including themes, plugins, graphics, and web templates for your online blog. Pay $19 each month and access the endless amount of the elements with no limits at all. Top WordPress themes, premium extensions like Jet add-ons, HTML and eCommerce templates, and graphics are all available for use.
If you are a regular MonsterPost reader, you have a chance to save on subscription up to 5%. All you have to do is just use promo code BecomeThe1 prior to proceeding to checkout.
Frutti
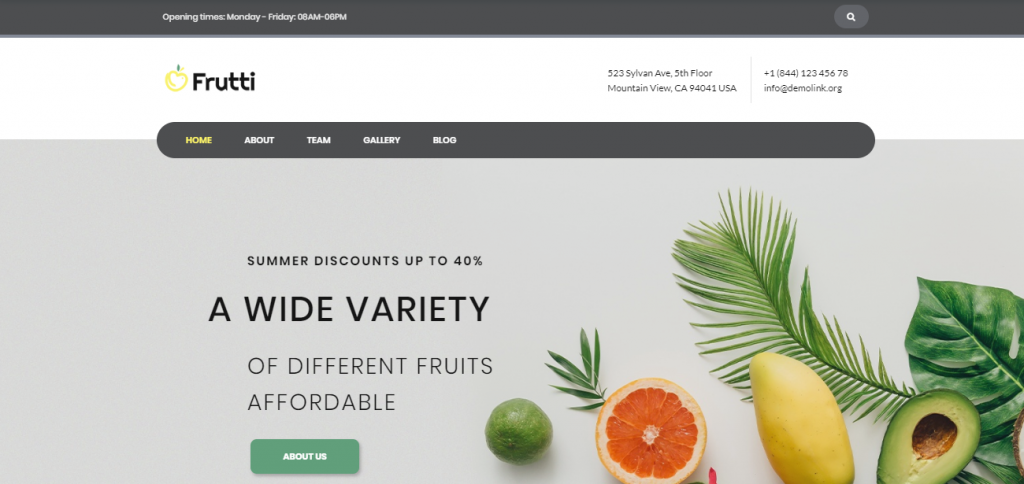
If you propagate organic food and want to spread the word about your project online, try this versatile WordPress theme. Frutti provides a separate elegant page for blogging purpose which makes it perfect for increasing traffic to your site. Besides, regularly posting blog articles to your web page you contribute to higher engagement as well. Meantime, a bulk of features allows you to make your site professional-looking without any coding skills required on your part. A few of them are as follows:
- Eye-catching pages for all occasions
- Elementor Page Builder
- Jet family plugins
- Related & Trending Posts, etc.
Glowlex
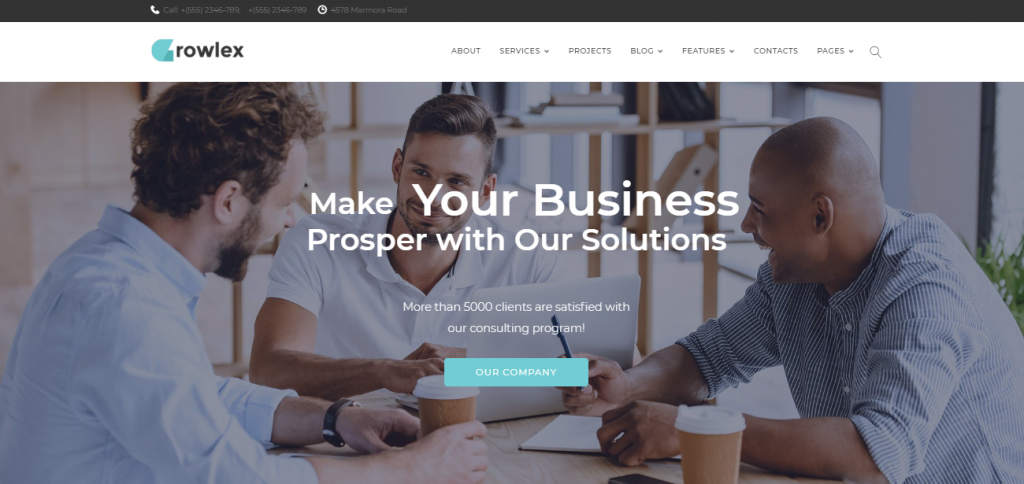
This is the last WordPress template in this list and it is suitable for those offering business services online. Glowlex will definitely help to boost up your consulting agency, increase conversion rate, traffic, and engagement. It has a minimalist yet eye-catching and stylish design which will make your site stand out in a crowd. Besides, it is all set with multiple plugins, widgets, tools, and other web elements for easy and fast website customization. Some of them are as follows:
- Elementor Page Builder
- Blog functionality
- TM Timeline & Mega Menu
- Contact Form 7 and much more

Wrap Up
Have you found this article useful? Share it with your friends who are also looking for clear and easy-to-follow tutorials. Don’t forget to leave feedback about your experience in the comments below. Also, if you’ve not selected a theme from the list for your project, you can always contact the TM Support Line. Their experts will gladly assist you in choosing an appropriate template.
Top 5 Brand New WordPress Themes for 2019
| Template Name | Theme Provider | Template Category | Price |
| Lady Marry - Photography Ready-to-use Creative Elementor WordPress Theme | ZEMEZ | Photography Templates | $75 |
| Chatty - Communication Multipurpose Clean Elementor WordPress Theme | ZEMEZ | Business Services Templates | $75 |
| Namaste - Yoga Studio Ready-to-use Minimal Elementor WordPress Theme | RockThemes | Yoga Templates | $75 |
| Frutti - Organic Food Multipurpose Classic Elementor WordPress Theme | ZEMEZ | Food & Drink Templates | $75 |
| Glowlex - Consulting Services Multipurpose Clean Elementor WordPress Theme | RockThemes | Consulting Templates | $75 |
Read Also
5 Tips from AutoBlog About How to Create Auto Blog that Will Rock
Step-by-Step Instructions on How to Create a Blog with Elementor and Monstroid2
4 Elements You Have to Add to Your Business Blog to Spice It Up a Little
How to Create a Stunning Blog Painlessly?
How to Set Up Blog Post Lists with Elementor Page Builder
Don’t miss out these all-time favourites
- The best hosting for a WordPress website. Tap our link to get the best price on the market with 82% off. If HostPapa didn’t impress you check out other alternatives.
- Website Installation service - to get your template up and running within just 6 hours without hassle. No minute is wasted and the work is going.
- ONE Membership - to download unlimited number of WordPress themes, plugins, ppt and other products within one license. Since bigger is always better.
- Ready-to-Use Website service is the ultimate solution that includes full template installation & configuration, content integration, implementation of must-have plugins, security features and Extended on-page SEO optimization. A team of developers will do all the work for you.
- Must-Have WordPress Plugins - to get the most essential plugins for your website in one bundle. All plugins will be installed, activated and checked for proper functioning.
- Finest Stock Images for Websites - to create amazing visuals. You’ll get access to Depositphotos.com to choose 15 images with unlimited topic and size selection.
- SSL Certificate Creation service - to get the absolute trust of your website visitors. Comodo Certificate is the most reliable https protocol that ensures users data safety against cyber attacks.
- Website speed optimization service - to increase UX of your site and get a better Google PageSpeed score.

Self-taught copywriter specialized in web design, marketing, and traveling. Graduated with a degree in German and English translation. Obsessed with guides, listings, and long-read blog posts. Open for new information and strives to explore more undisclosed subjects. Social Media Accounts: Fb, Twitter, LinkedIn.
Get more to your email
Subscribe to our newsletter and access exclusive content and offers available only to MonsterPost subscribers.

Leave a Reply
You must be logged in to post a comment.