How to Create a Banner for Your Email Campaign?
A well-designed banner is the backbone of your marketing emails. It’s often the banner that helps your subscribers decide whether to read an email, click, or close an email immediately. In this tutorial we'll show you how to create a banner for your email campaign.
That’s why paying close attention to the banner design will help you outperform your competitors. Here, I’d like to share a step-by-step tutorial on how to create an email banner using Adobe Photoshop. Join me as I take you through the steps of making a fancy eCommerce banner. At the end of the article, you can download a PSD file and the source image for the sample project we’ll make.
Where Can You Find Inspiration for Your Banner Designs?
Typically, it’s a job for marketers and designers to showcase your company's product or service. But what if you don’t have them in your team?
Coming up with design ideas for your banners might seem a daunting task. In my experience, every designer encounters this problem sooner or later. Luckily, there are many online resources where you can find visual inspiration for images related to any business. Such as:
- Behance
- Dribbble
- eSputnik Email Gallery
It’s important that you use high-quality visuals, preferably original images, for your banners. If you don’t have any, check these free stock photos websites:
- Pngtree is a huge database of free images and premade templates.
- Freepik is a graphic design website with a variety of vector and PSD images.
- Pixabay is one of the best stock photos websites. It has a search option and there you can download images of various sizes.
- IM Free also offers free design resources on a variety of topics, though it’s collection is slightly smaller than Pixabay’s.
- Pickupimage is one of the top 3 stock image databases.
- Creative Commons Search is more like a stock image search engine providing access to great design content available on a number of websites.
Paid stock image websites offer a greater selection of images, but you’ll have to pay for them. The most popular paid stock image websites are Depositphotos and Shutterstock.
Now let’s get back to business and move on to the main part. Keep on reading for a detailed step-by-step tutorial on how to make an email banner.
How to Create a Banner for Online Store Emails
A banner is the first thing that your subscribers will see when they open your email. It means that your banners should definitely make a positive impression. Eye-catching, relevant banners will surely improve email CTRs. Focus your efforts on banner design, and you’ll see the results in no time.
One last thing before we start. Take a look at these proven practices of creating an effective email banner. Next, I’ll guide you through the process of designing a banner with the basic Adobe Photoshop tools.
So, Let’s Get to Work!
Further, I’ll provide you with a step-by-step tutorial on how to create a visually appealing eCommerce banner. You’ll need Adobe Photoshop for this project, so first install the software if you don’t have it on your computer.
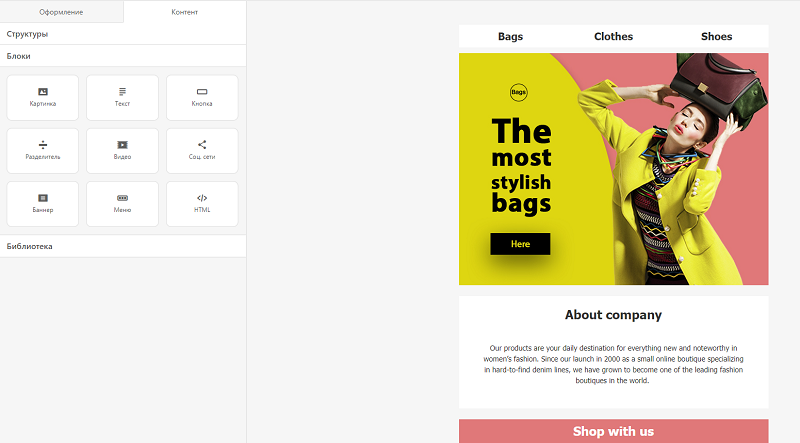
We’ll create a banner for clothes and bags online store. For my sample project, I’ve downloaded an image from the stock photo library. You can find the image here.

Here, we’ll skip most of the complicated details of how Photoshop works, and we’ll focus on the task. It’s time to try yourself as a designer and create something beautiful. Open your Photoshop and let’s get started!
Open Photoshop and click File <u+2192> New</u+2192> to create the document we will work with. Since it’s an email banner, set the width to 600 pixels. If it’s wider, it might break your emails’ layout.
The height may vary, but for this particular banner, 450 pixels is enough. In this size, the banner will look great at the beginning of your email, and your subscribers will be also able to see some text under the banner.
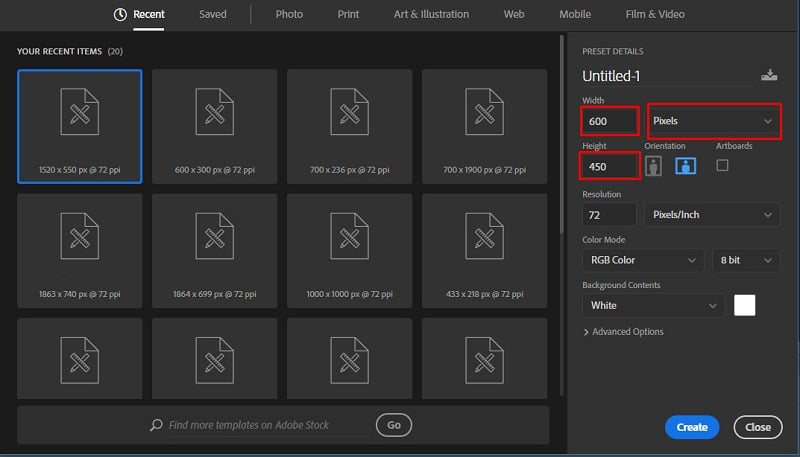
Now, your workspace is ready!
Click Create, and you’ll see a blank image with the height and width you’ve set.
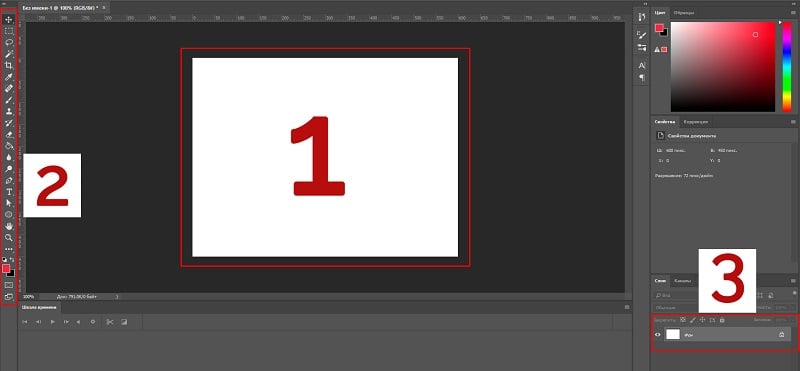
In this tutorial, we use the following elements of the Photoshop interface:
- The workspace to place your image components.
- The Tools panel.
- The Layers panel that displays a list of layers in your project file.
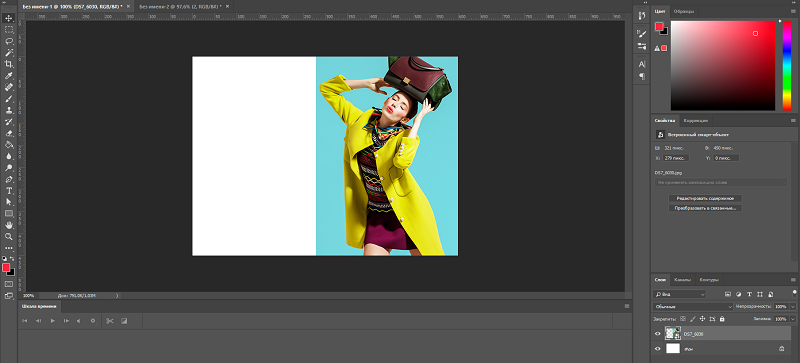
Open the downloaded image in Photoshop and drag it into the workspace. The image will be added to a separate layer in your workspace and on the Layers panel.
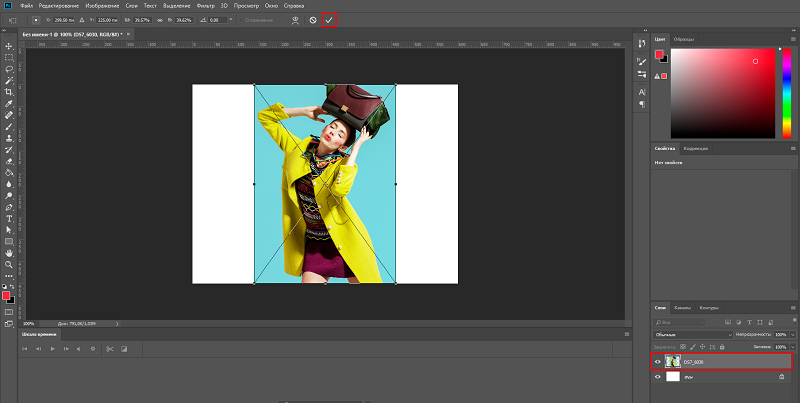
Press the Enter key or check the box in the options bar at the top of the workspace to start working with the image.
These are the tools you’ll need for this project:
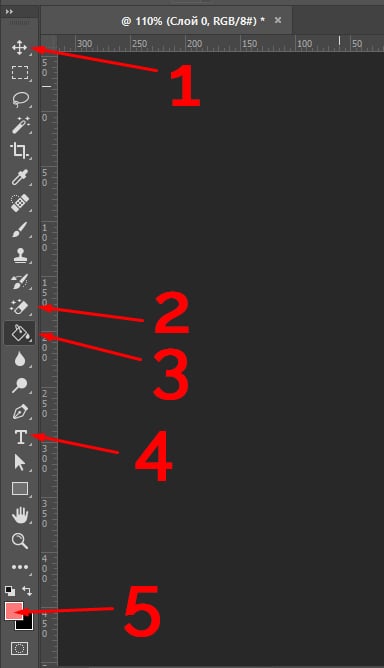
- Move
- Eraser
- Paint Bucket
- Type
- Color Picker
You can read more about the Photoshop tools on the Adobe Photoshop website.
Editing Image Background
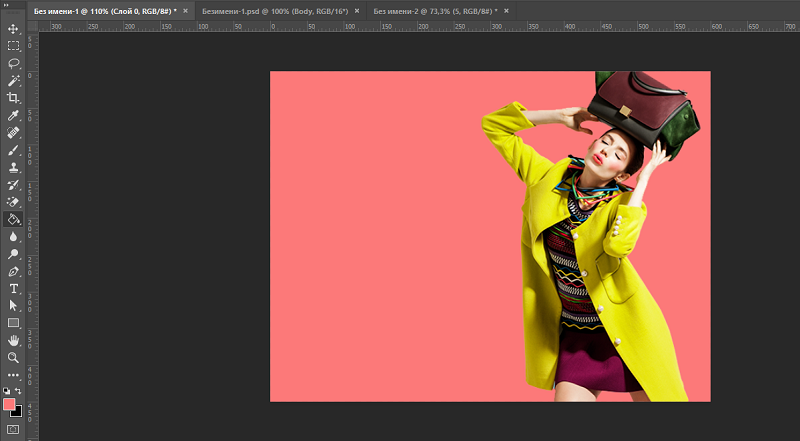
Since we need some space for text and a call-to-action button, use the Move tool to move the image to the right part of your workspace.
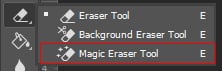
If the background on the original picture doesn’t go well with the whole email design, you can replace it with the help of the Magic Eraser tool. It’s great for deleting one-color backgrounds since it erases all pixels of the similar color in one click.
Right-click on the Eraser tool and select Magic Eraser in the drop-down list.
First, check that you’re working in the layer with your photo. Next, click anywhere on the blue background and click “Ok” in the pop-up window.
If you’ve done everything correctly, the blue color will be erased.
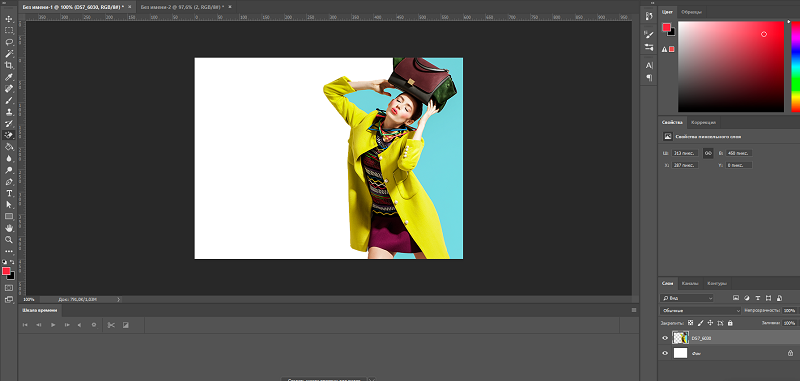
Use the Magic Eraser to remove all elements of the blue background.
Now you have the layer with an image of a girl on a transparent background. Click on the Background layer in the Layers Panel. In the Tools panel, select the Paint Bucket tool.
Set the color you want to use, in the Color Picker menu.
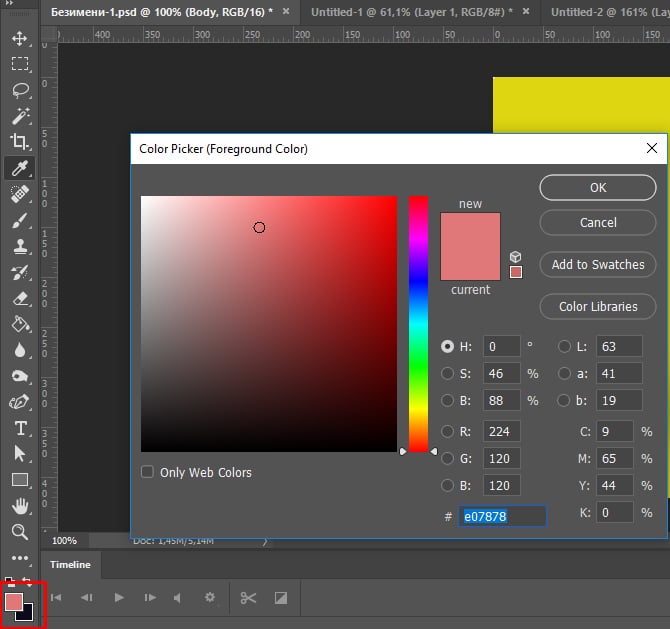
Click on the background with the Paint Bucket tool, and enjoy the result.
Adding Text and Call to Action
Use the Type tool to add a text message to create a banner.
At the top of your workspace, you’ll see a Character panel that displays various options for text editing, such as font, size, scaling and more.

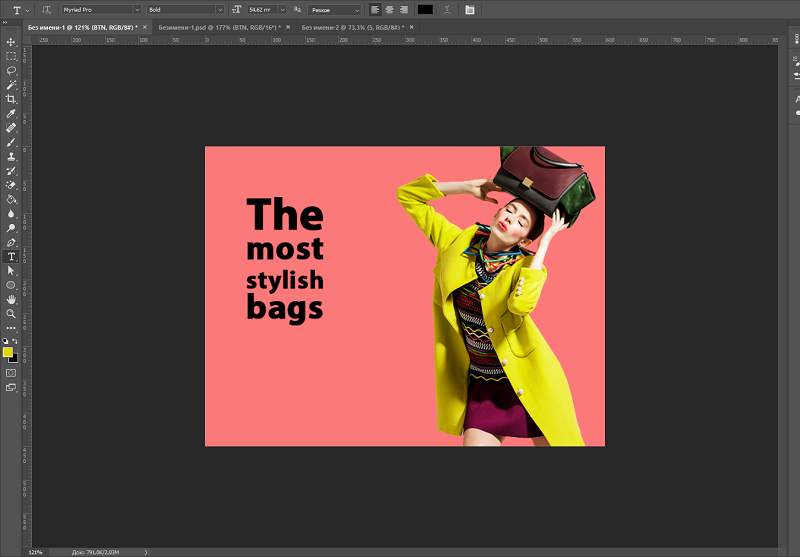
You can see all the installed fonts in the Font Family drop-down menu. If there’s not enough fonts, you can always download and install new ones from free font libraries, for example, 1001fonts.
Next, let’s add a button with a call to action.
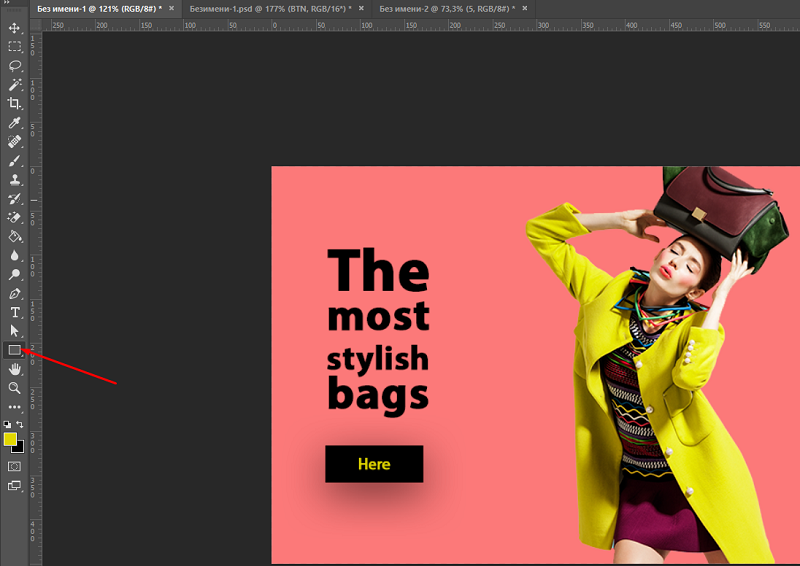
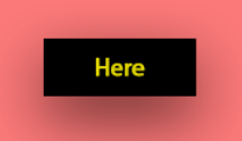
Draw the button using the Rectangle tool. Click Type to add some call-to-action text.
If you need to change the size of a button, select its layer on the Layers panel. Next, press the CTRL+T combination, which enables the Free Transform tool. Drag a handle to resize the button. Click ‘Ok’ or press Enter when you finish.

If you want to change the button’s color, you can do it by double-clicking k on the button’s layer.
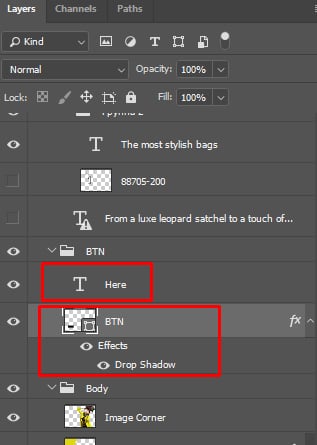
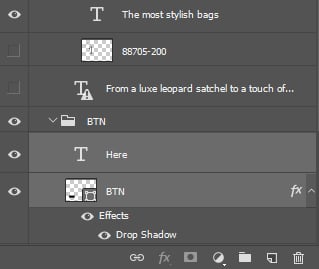
If you can’t see the CTA text, this may be because it’s covered by the button. Check if the text layer in the Layers panel is above the Button layer, and move it if necessary.
To center the text, hold CTRL and select both the text layer and the button layer on the Layers panel.
Click the Move tool and center the text by clicking the Align Horizontal Centers and Align Vertical Centers buttons in the Options bar.

Next, let’s add some shadow to the button to make it stand out from the background.
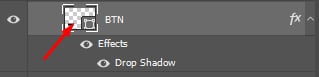
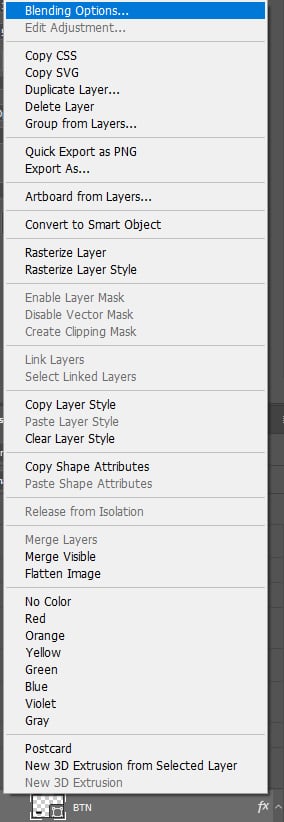
- On the Layers panel, right-click the layer with the button. Click Blending Options in the drop-down menu.

- Select Drop Shadow in the Blending Options window.

- Configure the Drop Shadow settings.
- Adjust the Opacity level to 60-70%
- Set the Distance to 10-20 px
- Set the Size of the shadow to around 50-60 px.
- Click “Ok”.


NB! Don’t forget about the layer hierarchy. If you can’t see content on one of the layers, this may mean that there is another layer above it that hides the content. In this case, simply move the overlying layer below.
The Final Touch to Create a Banner!
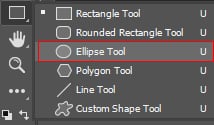
Select the Ellipse Tool on the Tools panel.
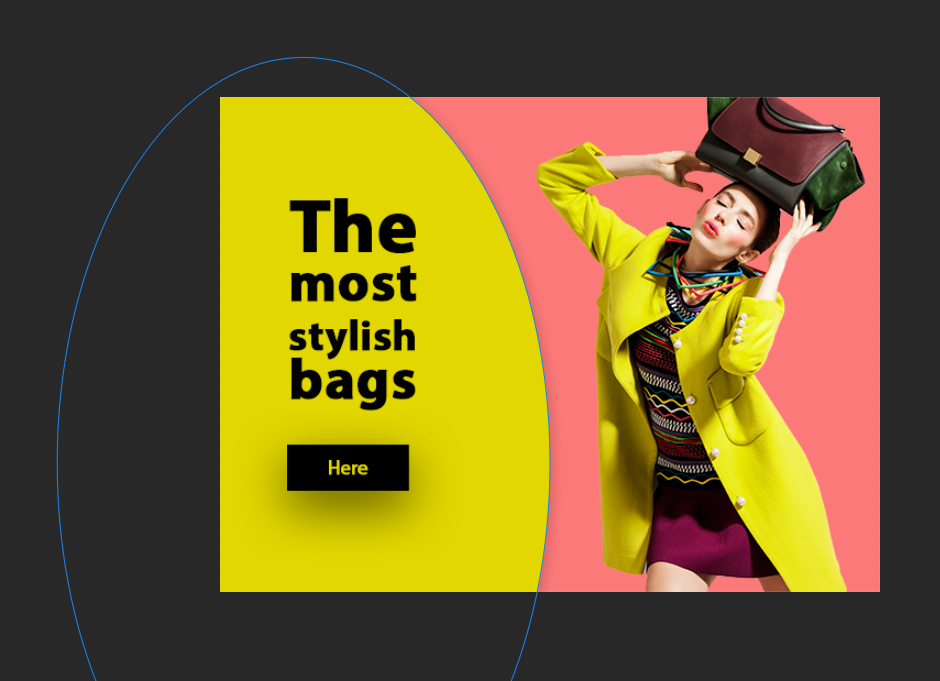
In our project, the ellipse goes off the edges of your image. If you need to edit the shape, select it on the Layers panel and activate the Free Transform tool with the CTRL+T combination.
Add a small Drop Shadow effect using the steps above to make the Ellipse stand out.

The Drop Shadow settings I chose in this case are:
- 25% Opacity
- 3 px Distance
- 15 px Size.
Then, I moved the ellipse closer to the girl. This way, the banner looks even better to me.
The final step is to add your company’s logo.
Now you know how to create eye-catching banners with the basic Photoshop tools. It’s time to try and add an image to your email template. Here's where you can use the eSputnik drag-n-drop email editor. Check out the final result — a responsive promotional email your subscribers would love!

Congrats with your new and useful experience! I hope this tutorial helped you learn some new techniques for creating email banners. They should come in handy when you’re creating visuals for your next emails.
And if you don’t have access to Adobe Photoshop, the eSputnik email editor lets you easily create banners in a handy visual editor. All editing tools are always at hand in the eSputnik editor, and it's quite easy to work with them.
When it comes to designing visual content, the eSputnik editor enables you to:
- Adding buttons, text blocks or even animated GIFs/videos, to your email template;
- Working with multiple layers;
- Using premade elements, such as menus, breaking lines, and social media links.
What’s more, the editor offers a wide range of functionality and design customization options, which means you don’t have to use any third-party software.
If you haven’t yet tried creating a banner along with this tutorial, you can do it at your convenience. Follow this link to download the source stock image, the PSD file, and the final result of the banner for the project.
Read Also
Premium Mobile Friendly & Responsive HTML Email Templates 2018
Effective Email Marketing Tactics to Boost E-Commerce Business
10 Cheaper Alternatives to MailChimp for Affordable Email Campaigns
Best Email Services You Will Fall in Love With
Don’t miss out these all-time favourites
- The best hosting for a WordPress website. Tap our link to get the best price on the market with 82% off. If HostPapa didn’t impress you check out other alternatives.
- Website Installation service - to get your template up and running within just 6 hours without hassle. No minute is wasted and the work is going.
- ONE Membership - to download unlimited number of WordPress themes, plugins, ppt and other products within one license. Since bigger is always better.
- Ready-to-Use Website service is the ultimate solution that includes full template installation & configuration, content integration, implementation of must-have plugins, security features and Extended on-page SEO optimization. A team of developers will do all the work for you.
- Must-Have WordPress Plugins - to get the most essential plugins for your website in one bundle. All plugins will be installed, activated and checked for proper functioning.
- Finest Stock Images for Websites - to create amazing visuals. You’ll get access to Depositphotos.com to choose 15 images with unlimited topic and size selection.
- SSL Certificate Creation service - to get the absolute trust of your website visitors. Comodo Certificate is the most reliable https protocol that ensures users data safety against cyber attacks.
- Website speed optimization service - to increase UX of your site and get a better Google PageSpeed score.

Posting contributed articles about the major web design highlights and novelties. Come across a handful of useful tutorials and guides shared by experts in the web design and online marketing fields.
Get more to your email
Subscribe to our newsletter and access exclusive content and offers available only to MonsterPost subscribers.

Leave a Reply
You must be logged in to post a comment.