Winery Logo Design. Photoshop Tutorial and Walkthrough
Folks, are you ready for another Photoshop tutorial? A certain period of time has passed since my first tutorial about How to Make a Stitched Leather Header was published. And this time wasn't wasted. I have learned lots of useful tricks, some of which I am going to share with you today.
Probably you've already seen the Free HTML5 Template we've released this Monday. Now we're going to tell you how the logo featured there was designed. Let's follow a step by step tutorial.
![]()
Step 1. First of all we need to download the Neat Retro Badges (PSD) which you can find following the link. I used the first one for the logo design.

Create a new document (I changed the background color into black, so you can see the form on it) and just drag and drop needed layer using Move Tool.
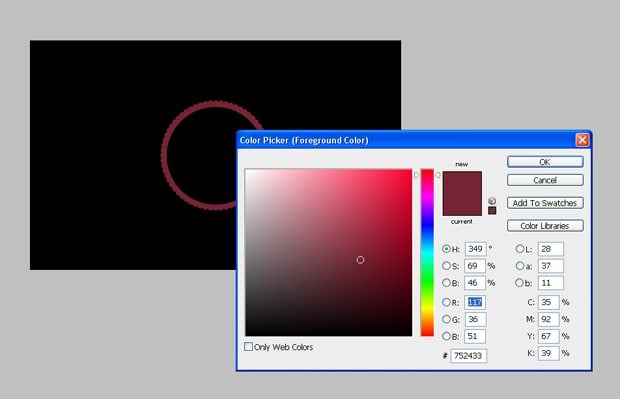
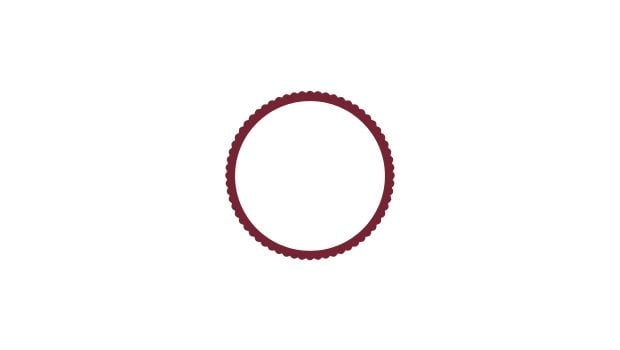
Step 2. Now let’s change the color of the shape. Choose the color #752433. Click on the vector mask thumbnail of your shape and press Alt+ Backspace. I advise you changing the background color into white again, because now you can see our logo better on white background.

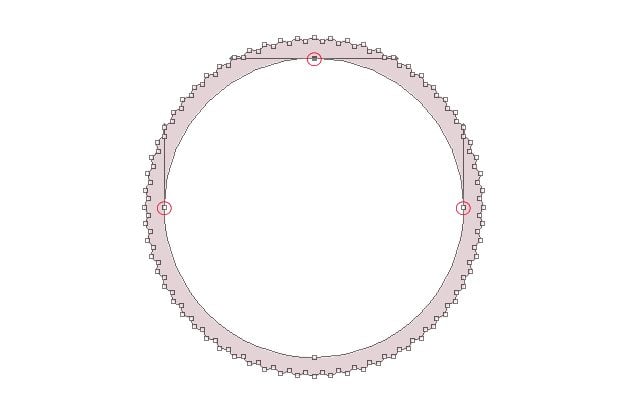
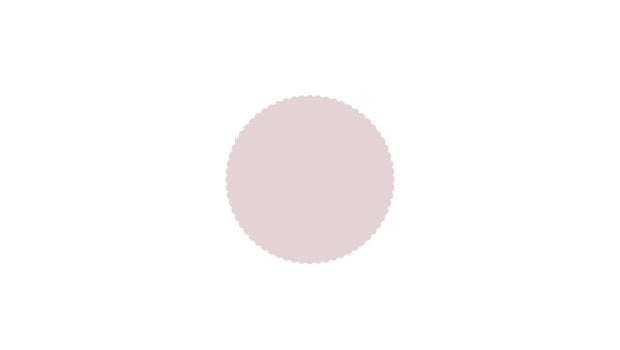
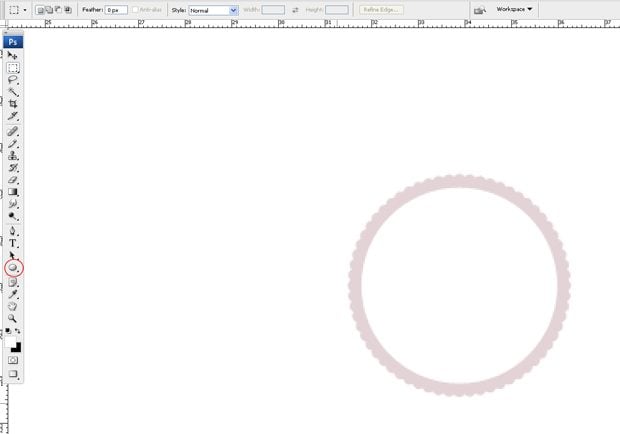
Step 3. Let's make the shape Opacity 20% and take Pen Tool. Click on the vector mask thumbnail of your shape. Now hold Ctrl and select several points inside the shape. Press Delete. Our shape has changed:

Step 4. Then make a new layer. Choose white color and draw a white circle with Eclipse Tool. Don’t forget to hold CTRL - so it will be a circle, but not oval.
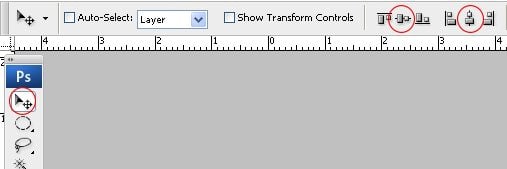
Step 5. Place the white circle into the middle of our shape using Move Tool: keep Ctrl and press our shape and white circle layers, then press two icons you can see on the screenshot. Thus you will align horizontal and vertical centers.
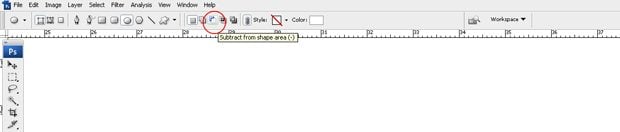
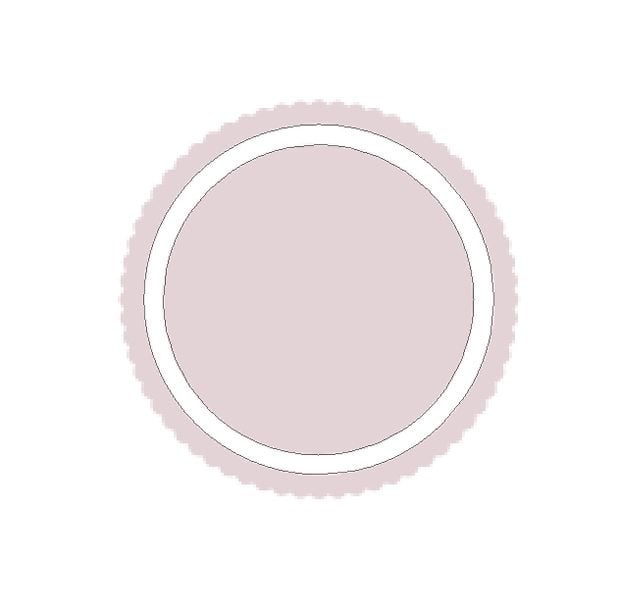
Step 6. Our next step is following. Press the thumbnail of our white circle and choose Subtract from shape area in the menu. Then draw one more circle which you need to move to the center of the white shape. Hold Ctrl+Space.
You will get following result:
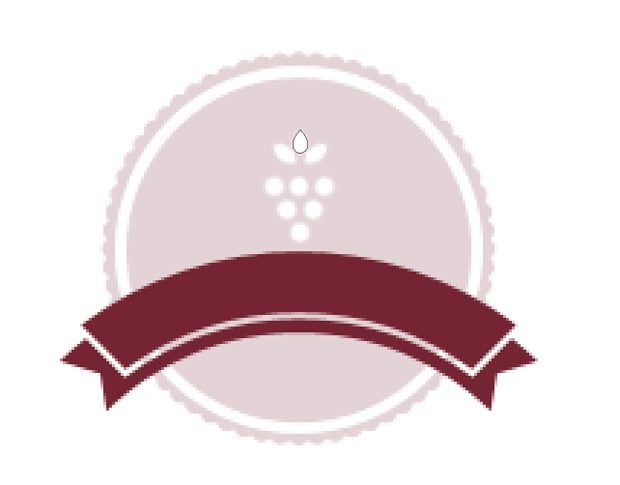
Step 7. It's time to get back to our Neat Retro Badges (PSD) we've already used. This time we will drag and drop the ribbon from the last badge. We are going to place it over our shape and align only vertical center by means of Move Tool. Change the color into #752433. Repeat manipulations from Steps 2 and 5. Now press Ctrl+T and modify the size of the ribbon.

Step 8. I also want to show you how you can draw such simple grapes. Surely, you can find various shapes and download for free. But sometimes it is easier and faster to do it yourself than to spend time searching. So, we create a new layer, choose Brush Tool (6px) and draw 6 little white circles.

Step 9. Now draw the leaves. I used rather simple form which seems to be the most appropriate for the logo. I just downloaded the water drops photoshop custom shapes and did several manipulations:
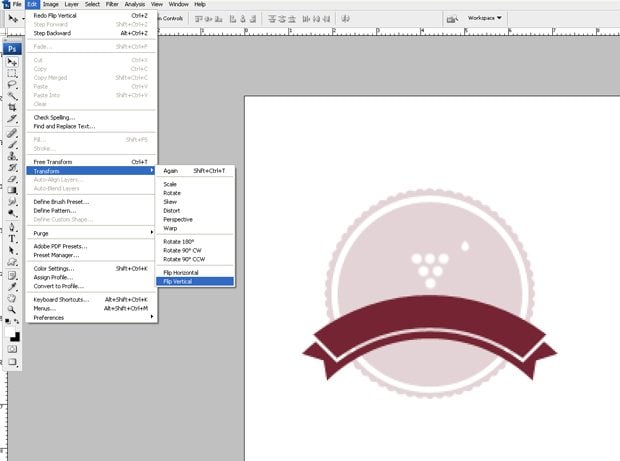

I've chosen one of the drops and added it to the new layer. Then I duplicated the drop and flipped it vertical. After that I moved it with Move Tool and merged the two layers with the drops. So I got the first part of the leaf.
Step 10. Our next step is to press Ctrl+T and place the element properly.

Step 11. Just duplicate the layer and Flip Horizontally:


Step 12. Now you need to draw one more drop. There is no necessity to modify it. Just Place it over two other elements of the leaf.
Step 13. Our logo is almost ready. But we need to add some text to it. I used Bebas Neue Font and wrote 1800 under the ribbon using Type Tool.

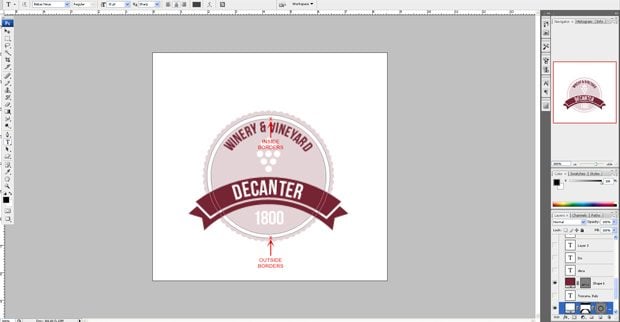
Step 14. Now we need to write the company name, but the word has to repeat the form of the ribbon. This trick can be really useful for you in future. So, We choose white color, Bebas Neue Font and you are just to press the vector mask thumbnail of the layer with your ribbon. Then you click on the ribbon itself - on one of its edges and type whatever you want. Place the text layer using the Move Tool.

Step 15. The same trick we do to type the rest of the text. The color is #752433, but this time we press the vector mask thumbnail of the layer with our white circle choosing at first its inside borders and then its outside borders.
* * *
That's it! I do hope I managed to explain this in a simple manner and you have learned some new tricks. Enrich them with your creativity and you will get a perfect result.
Create your logo with TemplateMonster!
Need an attractive logotype for your website, but have no way out? Professional web designers from MotoCMS will help you.
Our team will come up with the best solution for your brand according to your personal requirements. If the logo doesn't sit with your requests, we will redesign it up to 3 times. Just add this offer to your cart or contact our Service center
Note: The process of your logo creation will take up to 10 business days since you take the offer.
Logo Creation Offer from Moto CMS

Need an attractive logotype for your website, but have no way out? Professional web designers from MotoCMS will help you.
Your unique handmade logo will cost you $199 (if you get it together with a template) or $249 (if you purchase this offer as a standalone option.)

Ivy is a creative writer and experienced web designer at TemplateMonster. You can find a lot of awesome templates in the TemplateMonster inventory. Follow her latest updates on Twitter.
Get more to your email
Subscribe to our newsletter and access exclusive content and offers available only to MonsterPost subscribers.

Leave a Reply
You must be logged in to post a comment.