Designing Home Page Layout. Photoshop Tutorial [Part 2]
Guys, are you ready to continue our Photoshop lessons? I think you remember that in our previous Photoshop tutorial we've started designing homepage layout of our Free Halloween Theme.
Halloween is getting closer, and we're getting ready for the spooky day's festivities. Today we're going to continue with the task and finish our home page layout. There is a dozen of steps you'll be able to do one at a time. You will also find some brief explanations for each step to be able to get well with the end result.
It's time to deal with the part 2 of the Home Page Layout Photoshop Tutorial.
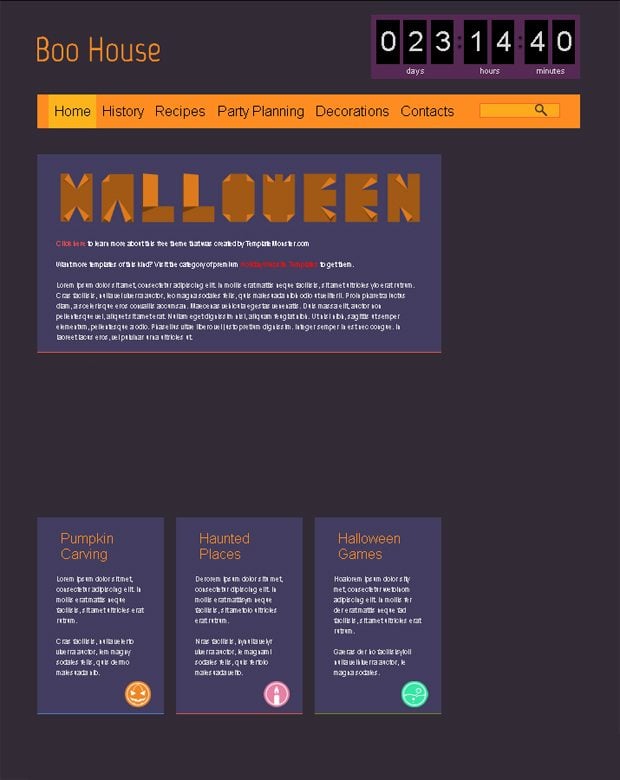
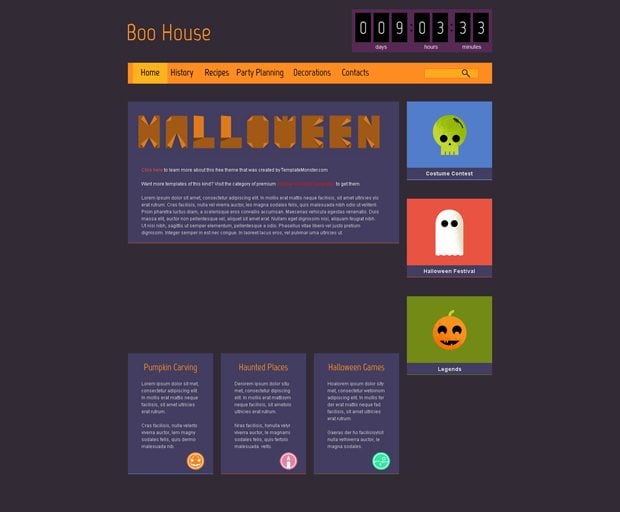
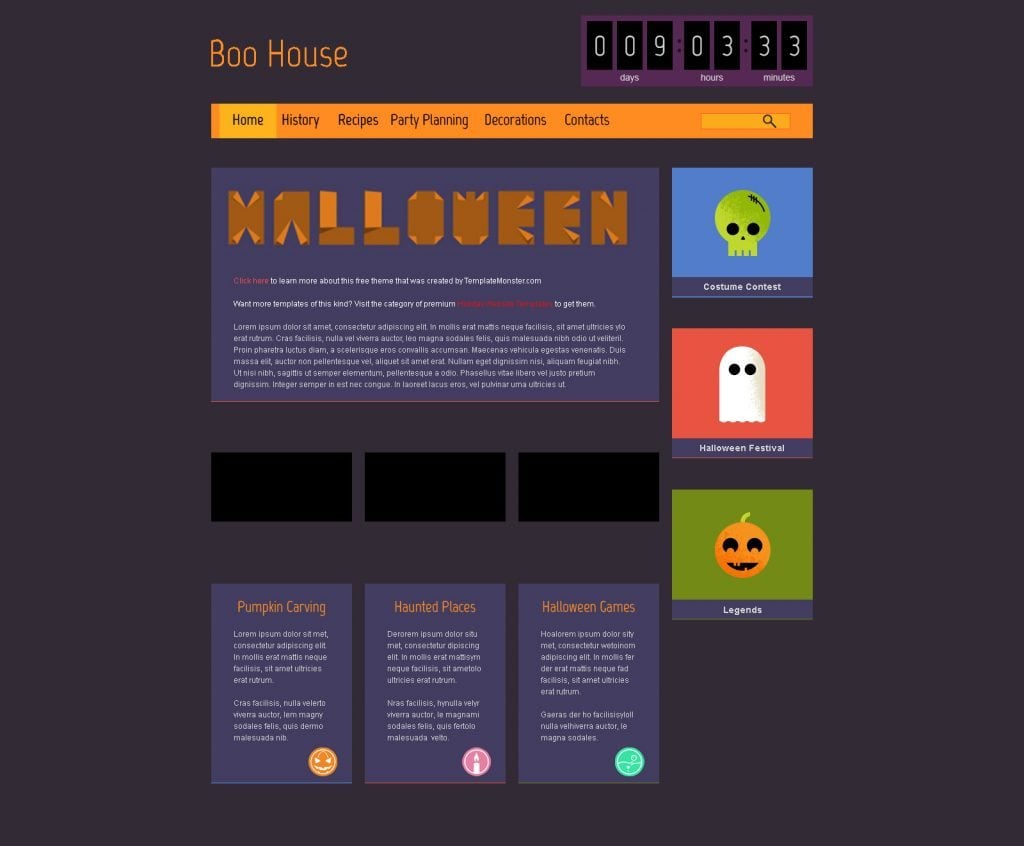
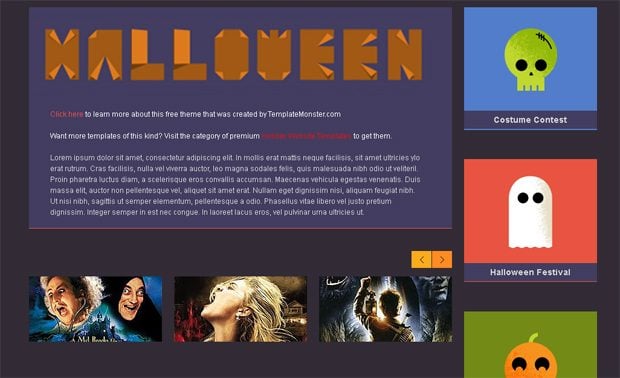
Step 1. Due to all those manipulations in our previous tutorial the end result looked like this:
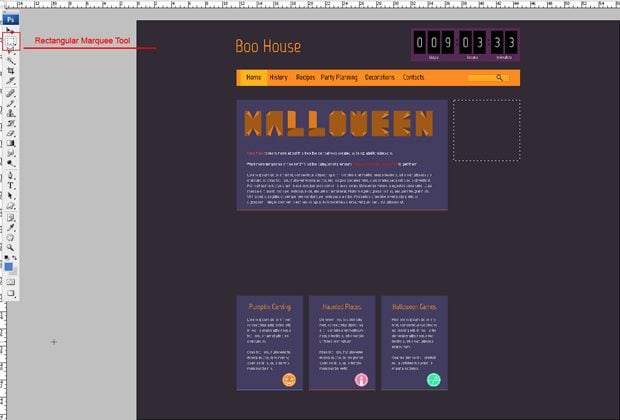
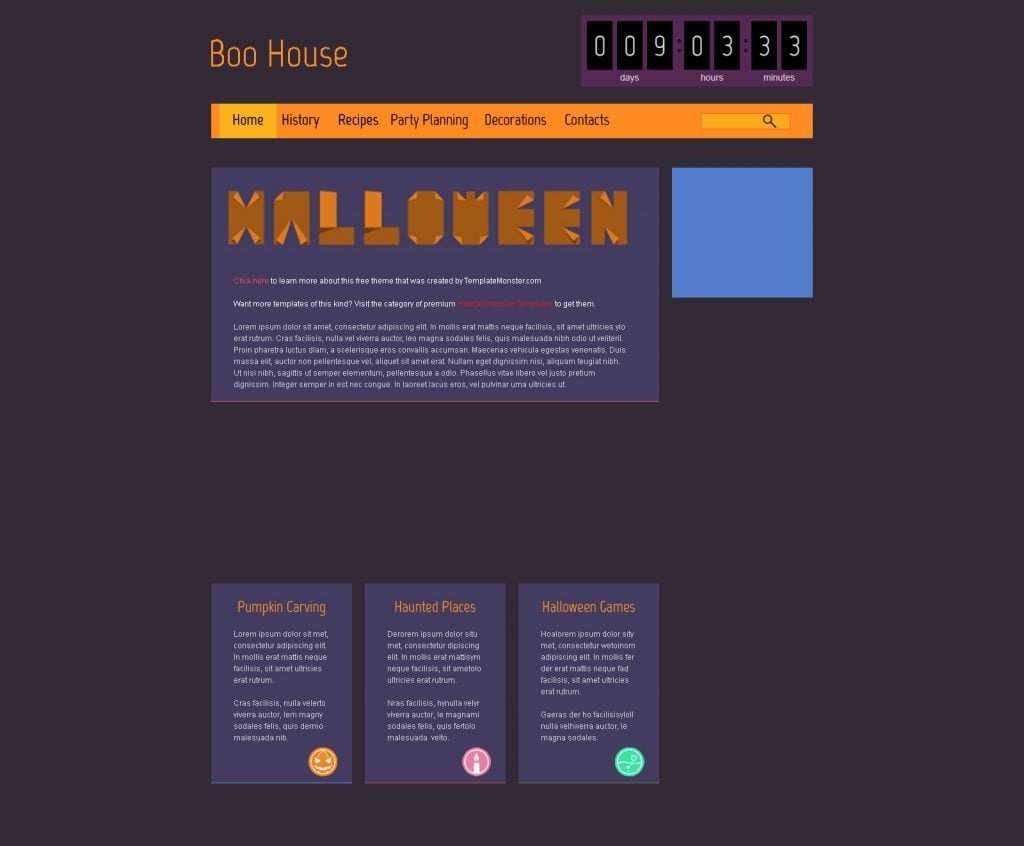
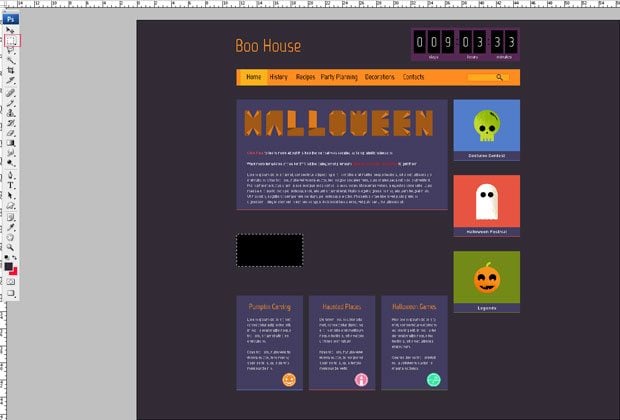
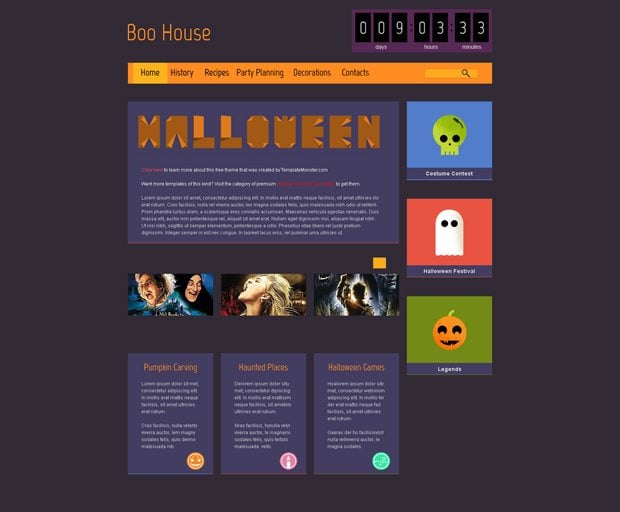
Now we need to add the sidebar. Create a new layer (Shift+CTRL+N), choose Rectangular Marquee Tool and draw the block we need. Fill it with color #527dca.
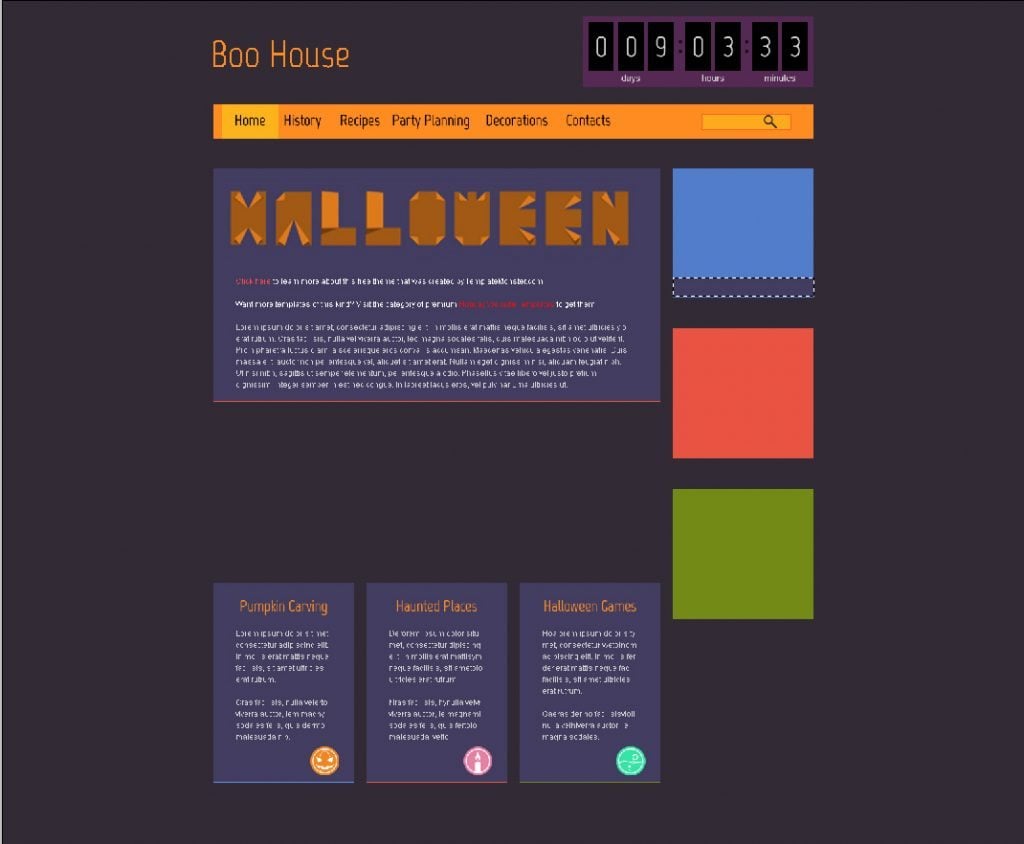
Step 2. Now duplicate this block 2 times. Choose color #e85441. Click on the layer with the first copy, press Shift+CTRL+Backspace. Thus you will change its color with the one you need. The second color we use is #738a17. Click on the layer one the second copy, press Shift+CTRL+Backspace. Now we have three colorful blocks.


Step 3. Create new layer, take Rectangular Marquee Tool and make a selection which we will feel with the color #423d60. Move the selection 1px up. Thus we will repeat colorful lines which we have already implemented in our design.
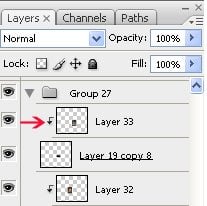
Step 4. The same manipulations you need to do with two other blocks. One little trick: if you want the borders of your layers to coincide, just click one of the needed layers, press ALT and make left click. Your upper layer will be seen only within the borders of the lower one.


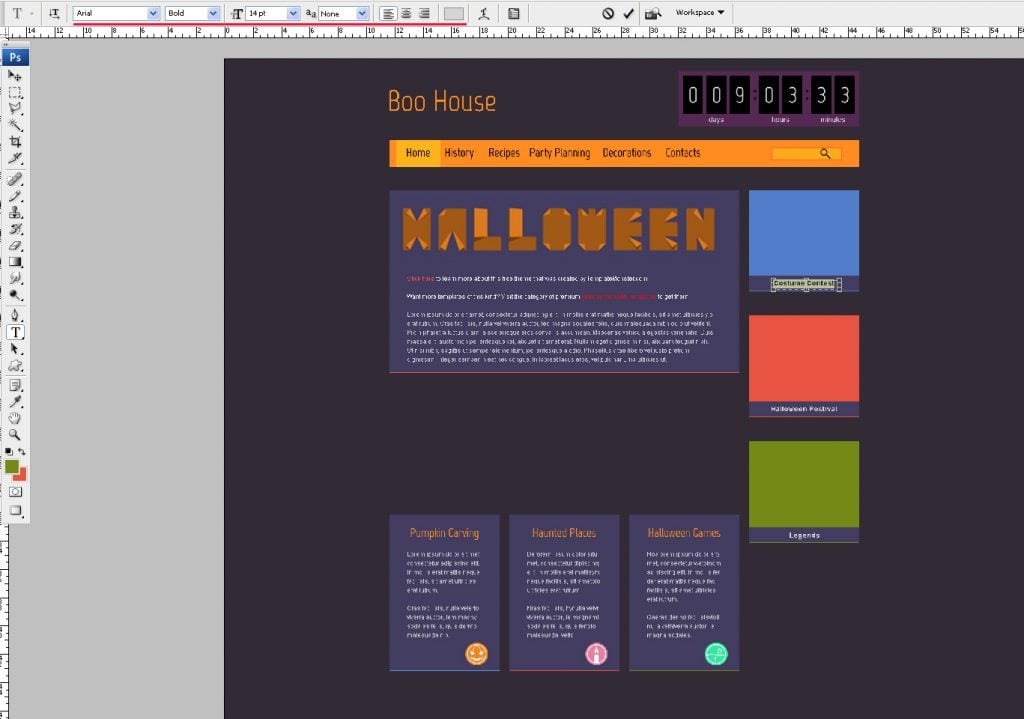
Step 5. Add some text to your blocks. Arial, 14px, none, color #d5d5d5.
Step 6. Now follow the link and download Halloween icons. Unfortunately they are merged into one layer. That's why we'll need to cut them in order to place over our colorful blocks. You will need to use Magic Wand Tool. Select black color and press Delete. Using Rectangular Marquee Tool choose the icon you need and copy it.
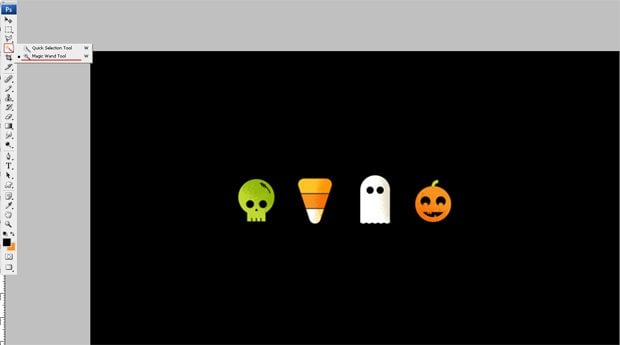
Step 7. Place the icons over our colorful blocks. Press CTR+T and resize them in accordance with our design.
Step 8. It's time to draw content slider for Movies section. Let’s create a new layer, take Rectangular Marquee Tool and select the area for the first film illustration. Fill it with black color.
Step 9. Duplicate the layer two times and move with the Move Tool. Add the suitable illustrations. Don’t forget to press ALT and make left click, so pictures will be shown only within the form you have just drawn.
Step 10. Now we will draw the buttons. New layer, Rectangular Marquee Tool, color #fcab1c.
Step 11. Create a new layer and take the Pencil Tool, set the size to, 1px. And now make several little dots placing them next to each other in such a way that they will form a thin arrow.
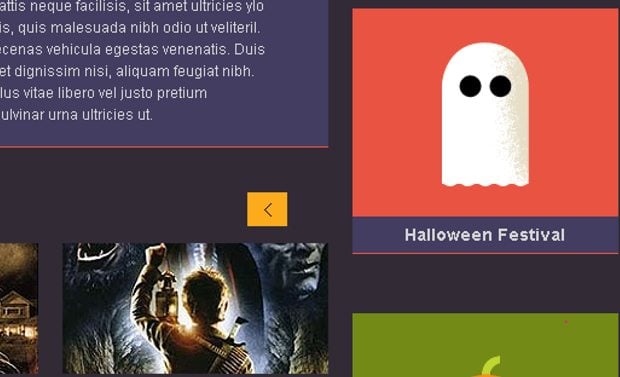
Step 12. Make the arrow opacity 38%. Keep CTRL and click the layer with the button and the layer with the arrow. Duplicate the both layers. Move them both with the Move Tool.
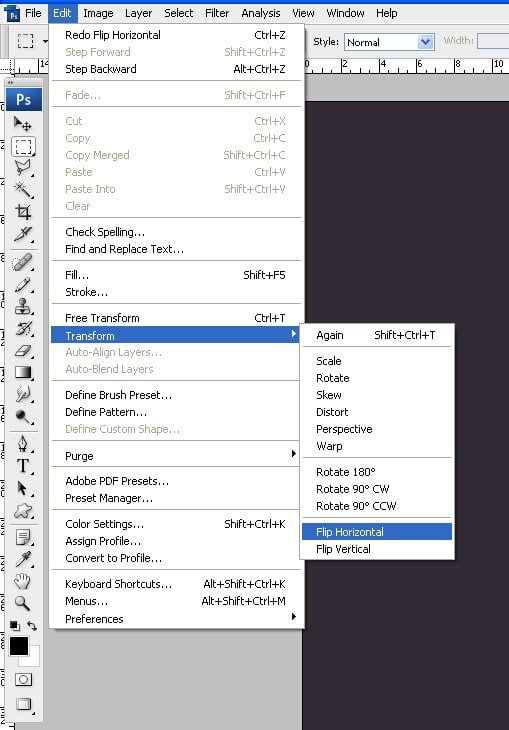
Step 13. Now follow the path: Edit, Transform, Flip Horizontal. And change the color of the second button with #fe8c21.
Step 14. Add title: font Marvel, regular, sharp, 36pt, #fe8c21.
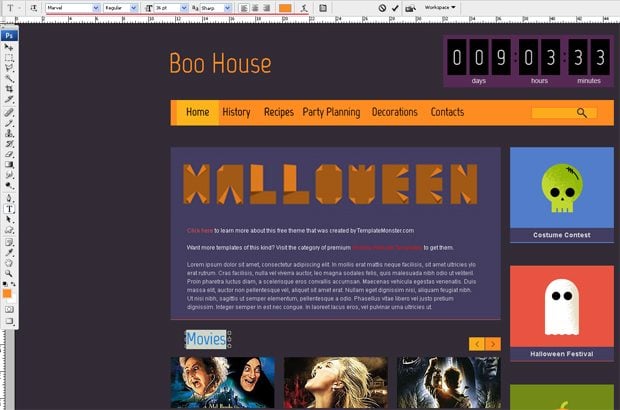
Step 15. The names of the films are written with font Arial, bold, 14pt, none, #d5d5d5.

Step 16. And finally draw the line to separate the copyright. Do it with the Pencil Tool, set the size to, 1px, #fe8c21.

Step 17. Free social icons you can download here. Click the layer with the icon, press Shift+CTRL+Backspace and change the color with #fe8c21. The ellipses of the icons are drawn on separate layers, so you can add any symbol you need. Create new layer you can add G+ and In just by using the Type Tool.
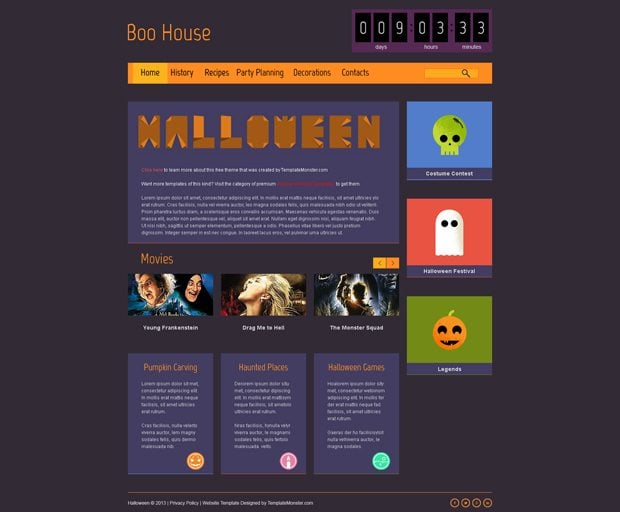
That’s all! It was a long way till the final result, but we are already there. My congratulations and I do hope you did every step facing no difficulties. Got any question? I am ready to answer! Just keep in mind that there is nothing impossible if you really want something. I am getting impatient about your feedback. So if you come out with a design you want to share with us, the comments section below is all yours.

Ivy is a creative writer and experienced web designer at TemplateMonster. You can find a lot of awesome templates in the TemplateMonster inventory. Follow her latest updates on Twitter.
Get more to your email
Subscribe to our newsletter and access exclusive content and offers available only to MonsterPost subscribers.

Leave a Reply
You must be logged in to post a comment.