How to Implement 6 Major WordPress Website Sections Dynamically? (Part 1)
WordPress is one of the stupendous frameworks behind most of websites and blogs you are visiting every day. WordPress is simple to use as it can be easily customized in different ways in portfolio sites, blogs and eCommerce sites. Being a free and open source blogging tool, till now, this CMS is used by more than 60 million websites.
If you are beginners and thinking how to build a WordPress website, it becomes tougher for newbie to fathom the best ways to manage and present it. In this tutorial, we will go through all the important sections of WordPress dynamically and learn about some neat sections you want to build into WordPress.
Section 1: How to Design Portfolio in WP?
First of all, you have to check the “Recent Projects” section available at the homepage. Users will find each sample with title, summary and a thumbnail image. Each one is actually different post under one category, which is called “Portfolio” and when you click it will take you to equivalent details on the main Portfolio page. Let’s see how they work.
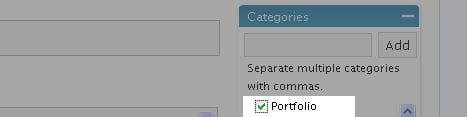
We are going to start with the SOCA project. You have to start with a new post and a new category called “Portfolio”.
Ensure to turn off your WP visual editor and after that, paste in the necessary table data and insert an anchor jump like this:
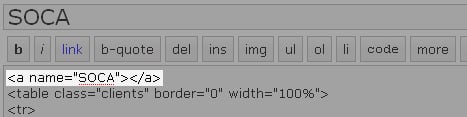
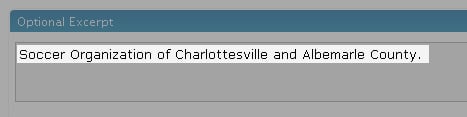
This will permit excerpts on the homepage to jump to the corresponding products on the Main Portfolio page. Now, you have to scroll down to the “Optional Excerpt” field and add whatever text you want.
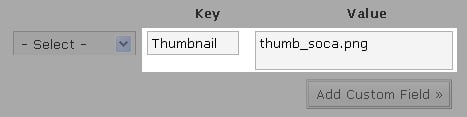
Now, create a custom field for the thumbnail image by scrolling down and name key “Thumbnail”, and for the value just type the image filename:
The Homepage Template Code
Now, you will require a piece of template codes for querying the “Portfolio” category for its last four entries, title and excerpt for each, print the thumbnail, and wrap the entire thing with a jump-anchor:
<div class="sample"><img src="/images/<?php $values = get_post_custom_values(">" /> <!--?php the_title(); ?--><!--?php the_excerpt(); ?--></div>The Portfolio Template Code
The code for the portfolio template page is easy to understand, if you already possess knowledge of template tags. Below you will find hardcoded in the little flower icon that seems between portfolio items.
Excluding the Category
Lastly, you have to add all portfolio products in the database. Moreover, ensure to avoid display in the “Latest News” section of the homepage. That’s easy as creating a category called “News” and ensure to call only their items:
Although driving portfolio is not a permanent solution, you have to make sure for future updates.
Section 2: How to Simple image slider with Simple Fields in WP?
No doubt, you will find number of plug-ins for creating image sliders/galleries; however, there is not yet another option for using any of those. Rather than this, we are going to show the versatility of a plug-in that called Simple Fields.
Firstly, you have to set up a custom post type of slideshow and add given fucnation.php of your theme:
register_post_type('slideshows', array(
    'label' => 'Slideshows',
    'show_ui' => true,
    'supports' => array('title'),
    'labels' => array (
        'name' => 'Slideshows',
        'singular_name' => 'Slideshow',
        'menu_name' => 'Slideshows'
    ),
) );
With this, you can simple create a very basic custom post type that doesn’t have content or attributes to edit besides the title at this point. This is because as we have aimed to add and manage the content with our own custom fields rather than the standard content editor in WP. One can simply do this by using the Simple Fields administration pages as mentioned in the Simple Fields documentation. In this tutorial, we are going to show how to do this in coding.
For this, we want a repeatable file upload field attached to the slideshow posts, so one can easily add number of images that he/she want to see in the slideshow. In next step, one can have to start with registering a field group like this. (Remember: we are still in the functions.php of your theme)
simple_fields_register_field_group('slideshow_images',
    array (
        'name' => 'Slideshow images',
        'description' => 'Add images to your slideshow here',
        'repeatable' => 1,
        'fields' => array(
            array('name' => 'Slideshow image',
                'slug' => 'slideshow_image',
                'description' => 'Select image',
                'type' => 'file'
            )
        )
    )
);
In next step, one can have to connect the field group to the slideshows post type and again add to the functions.php file of your theme:
simple_fields_register_post_connector('slideshow_images_connector',
    array (
        'name' => "Slideshow images connector",
        'field_groups' => array(
            array('name' => 'Slideshow images',
                'key' => 'slideshow_images',
                'context' => 'normal',
                'priority' => 'high')
        ),
        'post_types' => array('slideshows'),
        'hide_editor' => 1
    )
);
Now, one can find image field group that is connected with slideshows post type. However, there is nothing we require to do for making the field visible by default.
simple_fields_register_post_type_default('slideshow_images_connector', 'slideshows');
In next step, you have to go to your WordPress administrator pages and choose edit or add a new slideshow and see the repeatable file upload field that you just created. It seems like:
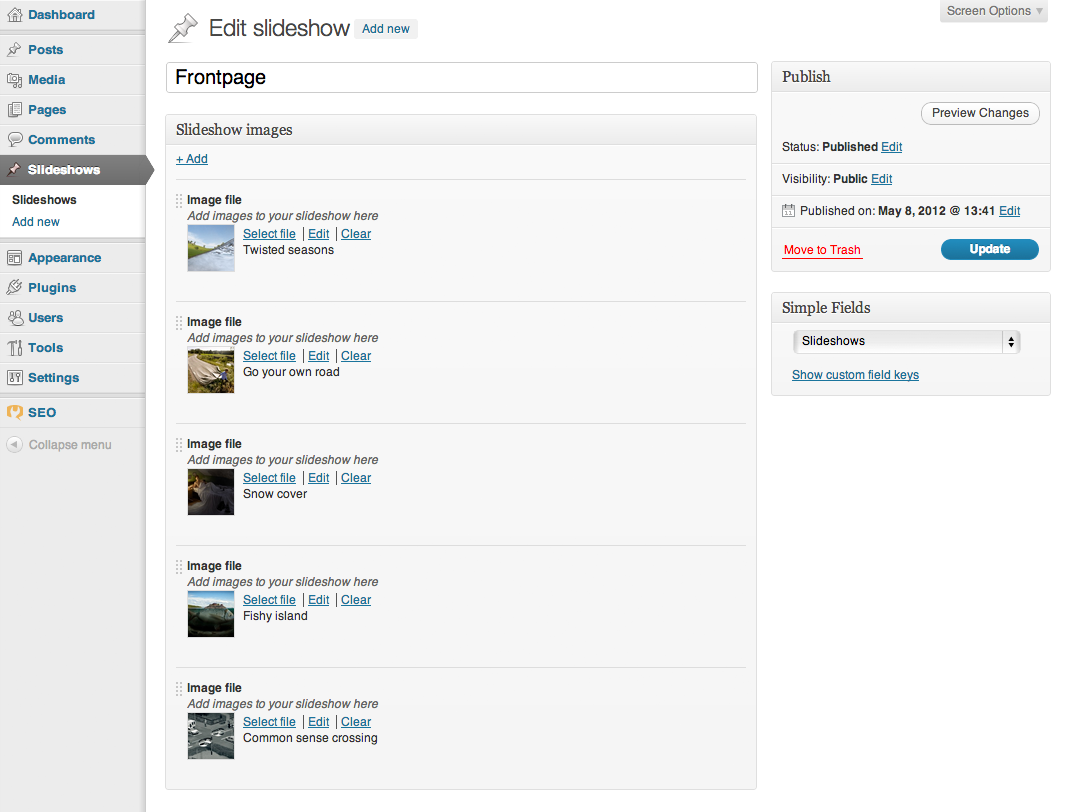
As we all have to create and manage slideshows. For that, you have to choose pages according to your slideshow requirements. If you are getting confused then don’t worry, Simple Fields provide tools for adding a simple slideshow selector on the edit page. Now, you have to start editing your functions.php file again and add the following:
simple_fields_register_field_group('slideshow_page_options',
    array (
        'name' => 'Slideshow options',
        'fields' => array(
            array('name' => 'Slideshow display',
                'slug' => 'slideshow_page_display',
                'description' => 'Choose a slideshow to display on this page',
                'type' => 'post',
                'type_post_options' => array("enabled_post_types" => array("slideshows"))
            )
        )
    )
);

simple_fields_register_post_connector('slideshow_page_connector',
    array (
        'name' => "Slideshow page connector",
        'field_groups' => array(
            array('name' => 'Slideshow options',
                'key' => 'slideshow_page_options',
                'context' => 'normal',
                'priority' => 'high')
        ),
        'post_types' => array('page')
    )
);

simple_fields_register_post_type_default('slideshow_page_connector', 'page');
An extra field is added above on your standard page editor pages, where you have to choose a slideshow to associate with the page. Like this:
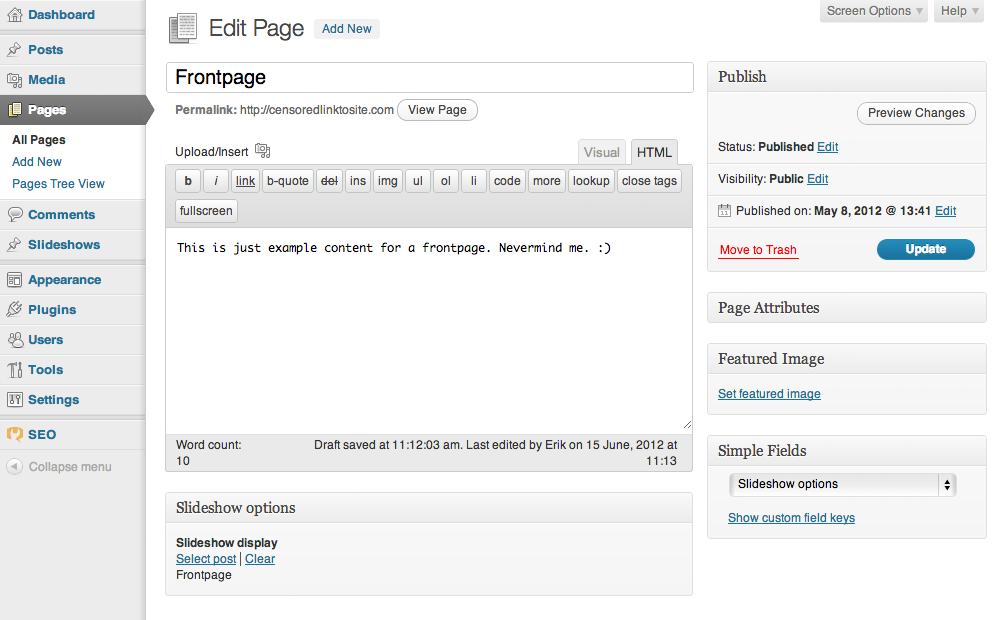
After that, reclaim the slideshow images in your page template and show them. You are free to use whatever markup you like, whichever way you want your images to display, etc. if you want to see example then see below as I have use the Flexslider jQuery plugin and now going to add below given functions.php for template tidiness.
function page_has_slider($theID) {
    $slider_id = simple_fields_get_post_value($theID, "Slideshow display", true);
    return ($slider_id) ? $slider_id : false;
}

function get_slider_images($slider) {
    if (empty($slider)) {
        return false;
    } else {
        if (is_numeric($slider)) {
            $post_key = "p";
        } else {
            $post_key = "post_name";
        }
        $slides = array();
        $slide_query = new WP_Query(array( "post_type" => "slideshows", $post_key => $slider));
        if ($slide_query->have_posts()) : while ( $slide_query->have_posts() ) : $slide_query->the_post();
            $img_attachments = simple_fields_get_post_group_values(get_the_ID(), "Slideshow images", true, 2);
            foreach($img_attachments as $image) {
                $slides[] = wp_get_attachment_image( $image["Slideshow image"], "slider-image");
            }
        endwhile; endif; wp_reset_query();
        return (!empty($slides)) ? $slides : false;
    }
}
There is a function you have to use to check whether a page has a slideshow associated with it or not. After that, check how little code we require to show the slideshow images. You just have to put the following inside “The Loop”:
Section 3: How to Create a “Recent Posts” Module Outside In WordPress?
Creating a “Recent Posts” Module Outside of WordPress CMS or any Query-based usage of WP posts is bit easy. You just have to use the wp-load.php file:
// Include the wp-load'er
include('wp-load.php');

// Get the last 10 posts
// Returns posts as arrays instead of get_posts' objects
$recent_posts = wp_get_recent_posts(array(
 'numberposts' => 10
));

// Do something with them
echo '
', $post['post_title'], '
'; } echo '
';In this tutorial, we have learnt to create three sections. Till now, if you do have any problems then please discuss with us through comment section and for remaining sections, check out part 2 of this tutorial that contains information about Contact Form-Page, Customize Social Share Buttons and WP theme.

Joseph is a creative writer and application developer for industries like Health & fitness, Travel, Food, Restaurant, taxi, etc. See his works on Pinterest.
Get more to your email
Subscribe to our newsletter and access exclusive content and offers available only to MonsterPost subscribers.

Leave a Reply
You must be logged in to post a comment.