Building a WordPress Website Brick by Brick
Creating your own website is like eating exotic food. Someone will never put that into the mouth; someone hesitates for a long time before deciding to try, and someone became a real gourmet. There are billions of websites on the internet, and you can still have difficulties with finding some particular things. The moment you do, a little thought appears in your head: “if there’s no such website, maybe I should create it and gain some profit?” Lots of people stop at that point and don’t continue because they think that creating a website is hard or expensive.
They are wrong.
It has been awhile from the time when only professional developers could build a website. In the current state, there are lots of tools that make website creation a child’s play. You won’t need to hire an expensive designer or study web-development. Just follow this guide, and you will learn how to build your website brick by brick without paying a single dollar.
Brick 1. A man needs a name

Let’s start from the very beginning. Look at the top of a page you are reading just now. A couple of words written in a long white space just under the tabs is a URL (or, in plain language, name) of the page. Every website has its name, which is chosen during the website creation. Now pay attention to a little word that ends a website name – it could be .com, .org, .info or any other. That is a domain name, and it is a first thing you’ll have to get to your website. Most of existing hostings (we will talk about them a little later) provide clients with the domain name, but just in case your hosting doesn’t – here’s an instruction how to get a domain name.
Brick 2. Home, sweet home
Now, when you have a name for your website, it is time to think about the place where it will be created. Imagine that Internet is a country. As in any real country, every piece of land there belongs to someone and if you want to build a house – you need to buy some part. It is similar to the internet, but the difference is that you can’t find free land in real countries. “Landowners” of the internet are hostings, and it is not difficult to find one that provides service for free. If you have some problems with it – just go through “How to register a hosting” part of our article about WordPress website creation “Easy as LEGO.”
Brick 3. Getting the best tools
Although you are now a proud owner of your own piece of the internet, it’s not the time to relax. You will need a WordPress there. If a website has an option to install it automatically – it will take not more than 10 minutes to finish it. The process is described in details in “Easy as LEGO” article, so just follow the instructions. Things become a little harder if you have to install WordPress manually, but keep calm. “How to install WordPress on your hosting” will save you time and efforts of seeking for a detailed manual.
Brick 4. Decorative work
Let’s be real – default themes on WordPress are boring. They are free to use and simple, but they won’t catch attention. If you make that website for your company – you can’t leave default theme. Even if you are going to create a personal diary – those themes are too standard to please your eye. To get a high quality, you should get a paid premium template. TemplateMonster has thousands of stunning themes, and we can show you how to make your website rock. However, I promised you that it wouldn’t cost you a single dollar to build a website and I keep my word. TemplateMonster has lots of completely free themes – you can download and install one of them just the same way as if it was paid.

Brick 5. Ready, steady, write a post!
You have a website and a fantastic theme installed on it; do you feel yourself a winner? You certainly are, but the website is still not finished. By now your creation looks pretty and has a potential to become a real masterpiece – all you have to do is fill it with content and finalize its appearance.
There are only two types of content in WordPress – posts and pages. Posts are some articles and are shown on the blog. All of them are marked with creation date and go in chronological order – from latest to oldest. Pages are different – they are static, don’t change in time and are shown in the menu on the top of the screen. Your “About us” and “Contact us” tabs are pages. Creating all this stuff is easy and intuitively understandable. Let’s create a post and a page.
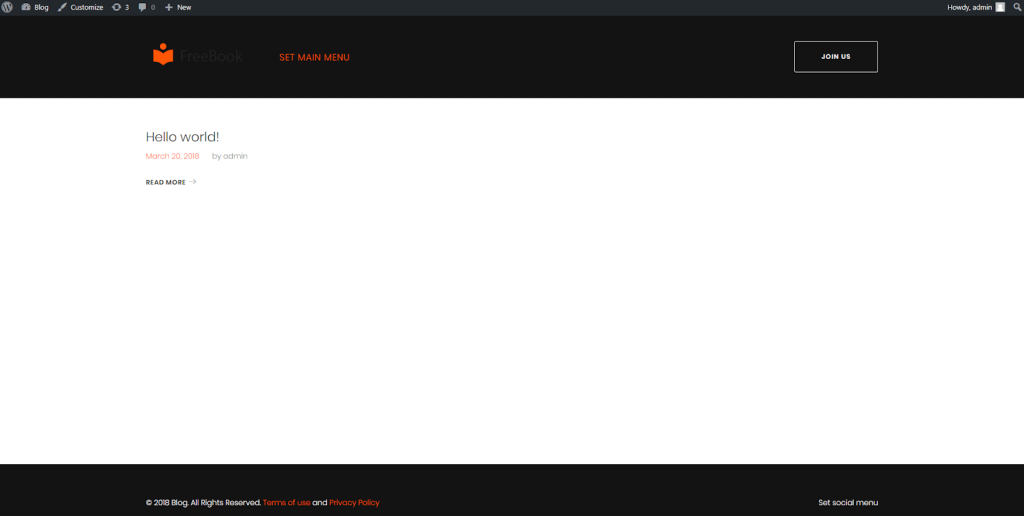
Previously I installed an Imperion template to the example website, but it has a vast variety of features you may not have with your current theme, so I installed a simpler one – a Freebook template that is free on TemplateMonster. My website looks very clear now and has only those functionalities that every WordPress theme have.
Posts
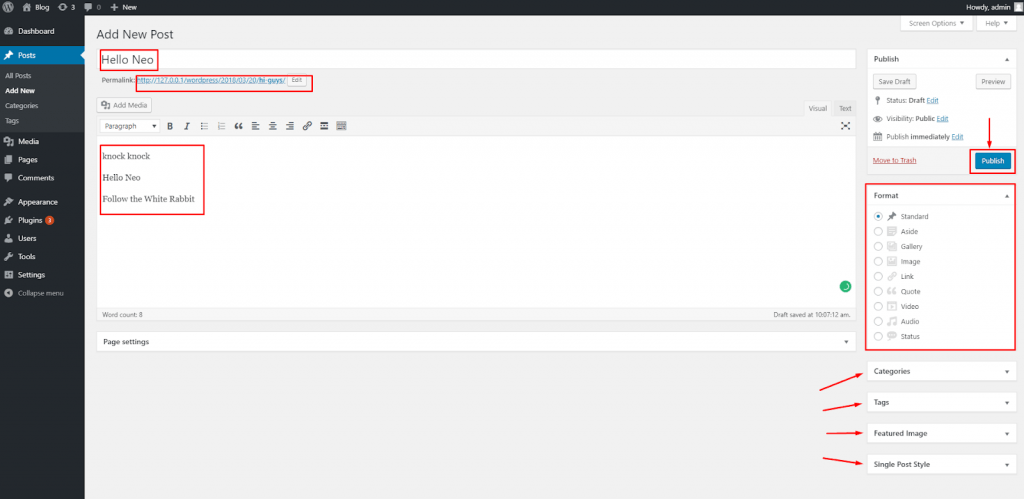
Let’s continue and create the first post. Go to your Dashboard and select Posts > Add new. Enter the title of your post and look at the “Permalink” right below. This is the URL of the post that will be visible to all visitors – try not to make it very long or difficult to remember. Then write your post’s text and check options presented to the right. You can choose the format of the post, add it to some category, add tags, picture, and choose the style. When you are ready – hit the “Publish” button. Don’t worry, if something is wrong with your post you can always turn back and fix it.
On the website, it will look something like that.
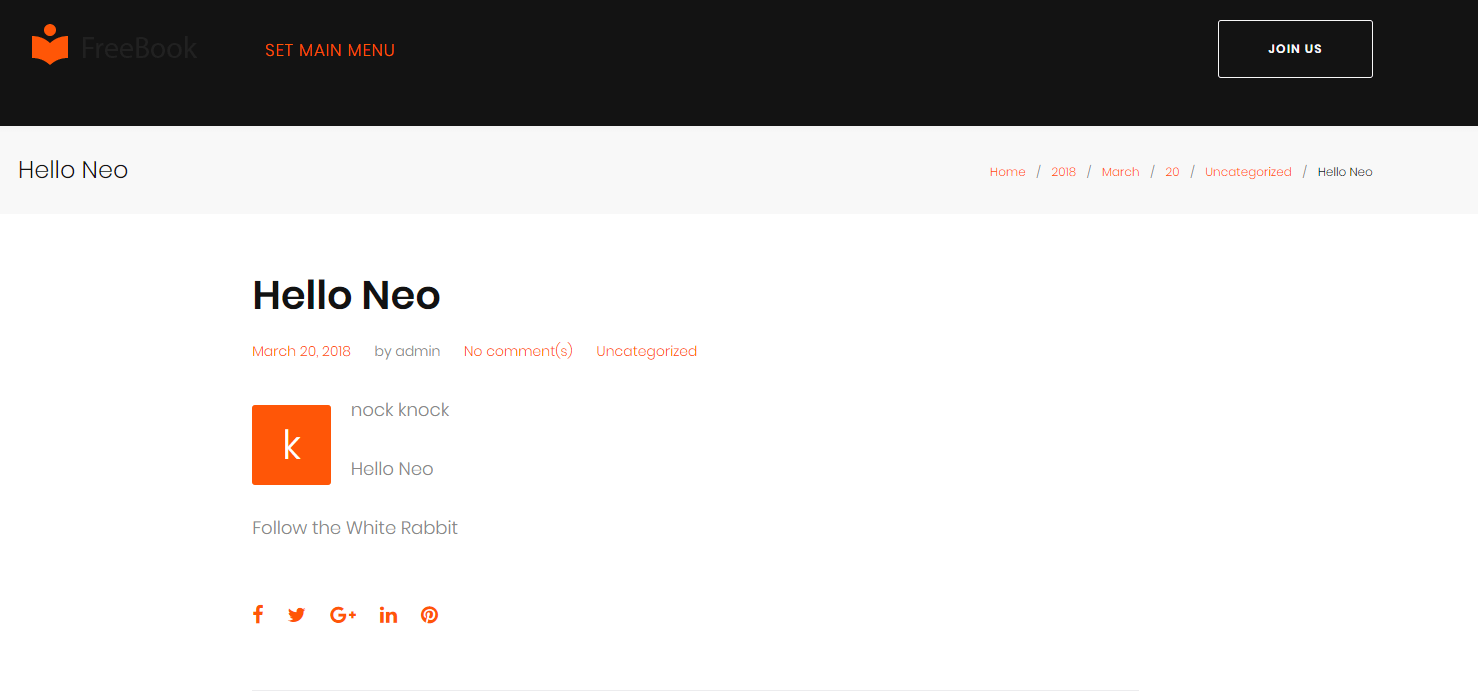
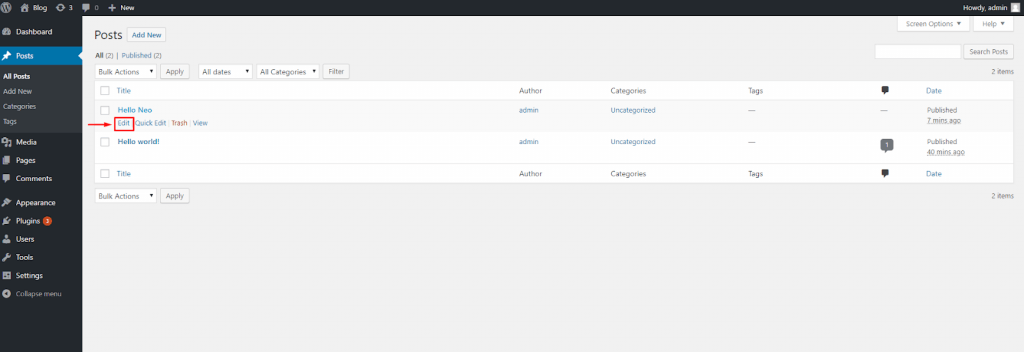
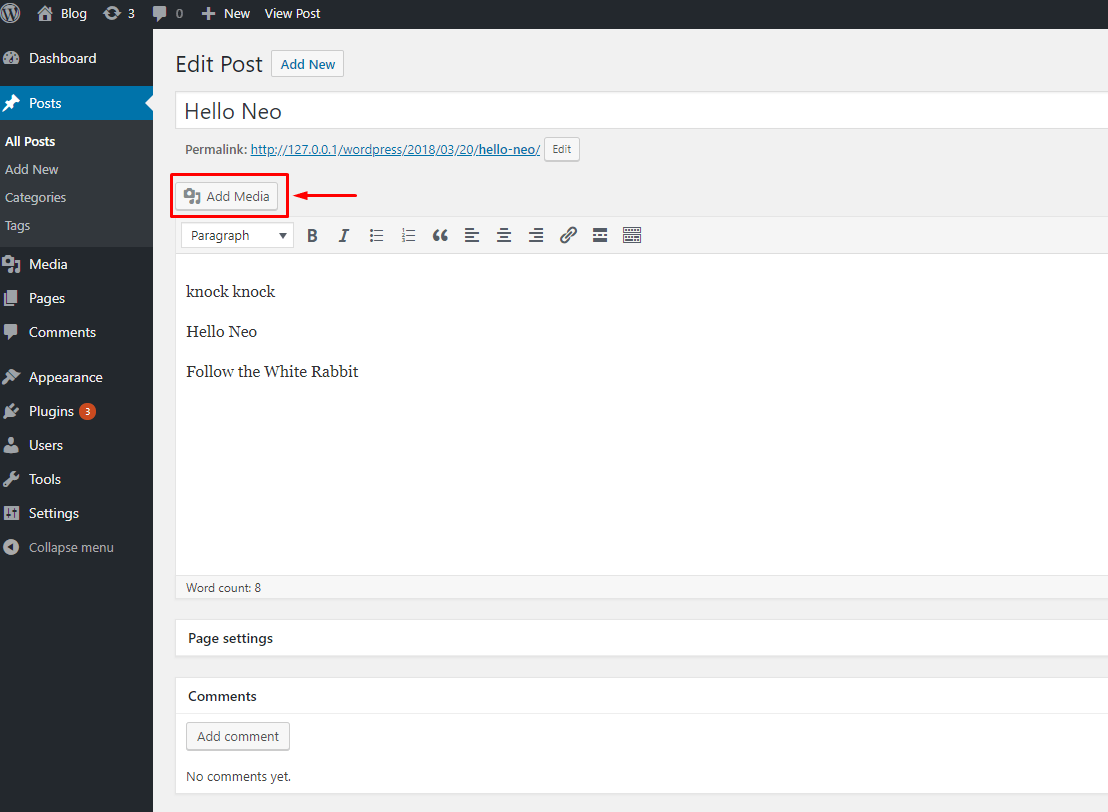
Not very beautiful, huh? Let’s make it more interesting and add a picture. There are two ways of adding media to your website. First is uploading a picture right to the post. Go to the Posts > All Posts. You will see all posts that exist on your website. Choose the one you want to edit and click on it. In the post editing window hit the “Add Media” button.
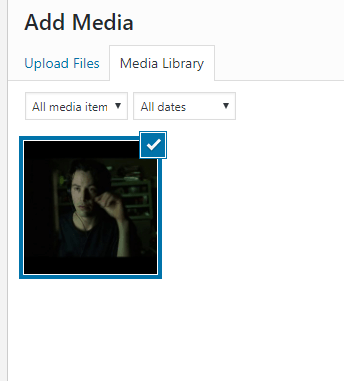
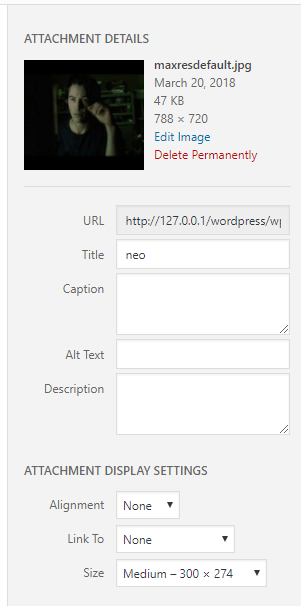
You can add media by selecting them from a folder or just drag-and-dropping them to the window. The chosen picture will be automatically downloaded to the media library – select it, add attachment details and push “Insert to post” button. The picture immediately appears in the post text field.
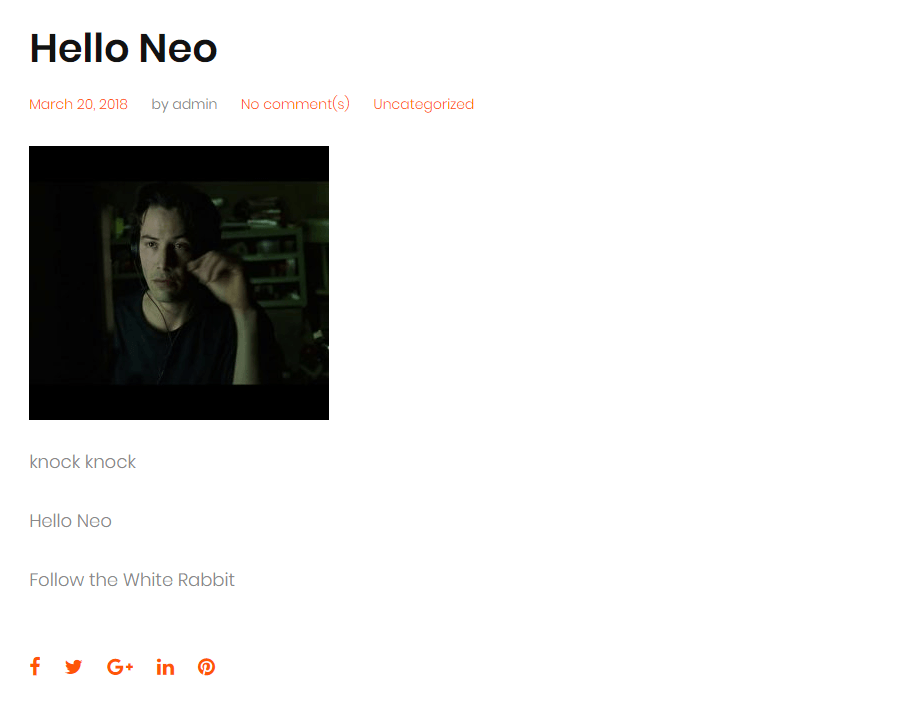
Let’s look how our post looks like now. Click “Update” and go to your website.
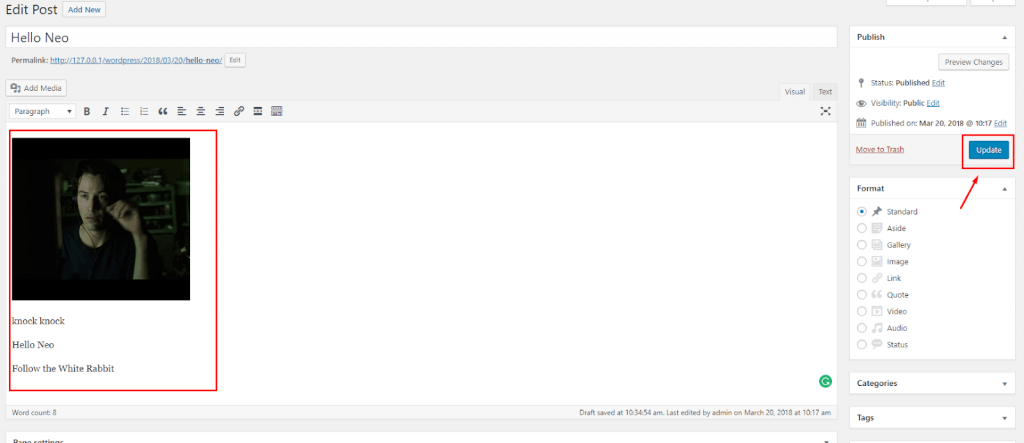
A little prettier, isn’t it?
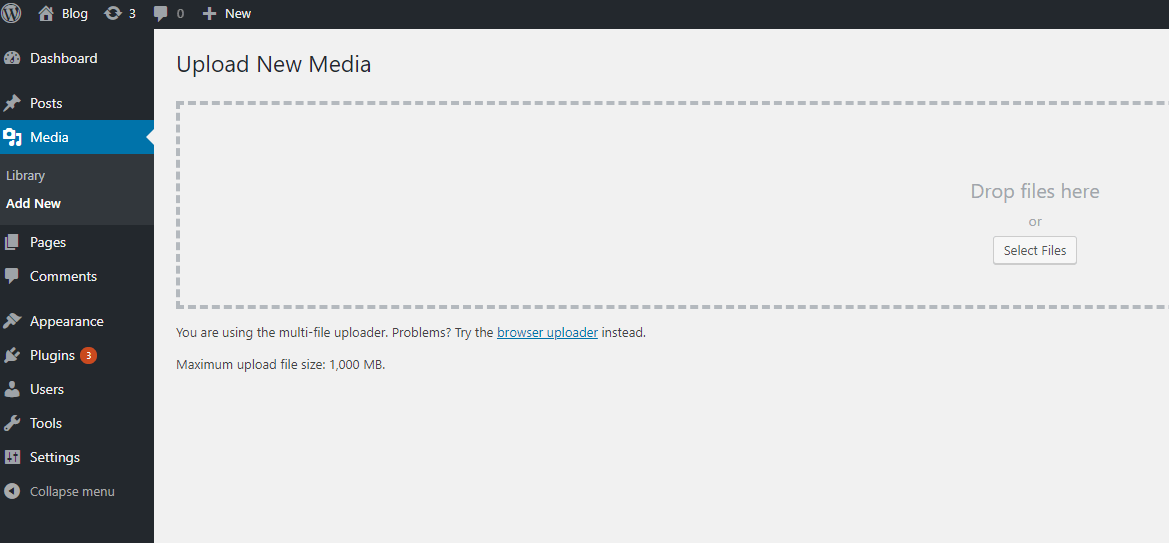
The second way to add some media to the post is uploading it to the Media library and then just selecting it from the available photos. You can do it the same way as you add a photo previously, the difference is that you need to do it in the “Media” tab.
Pages
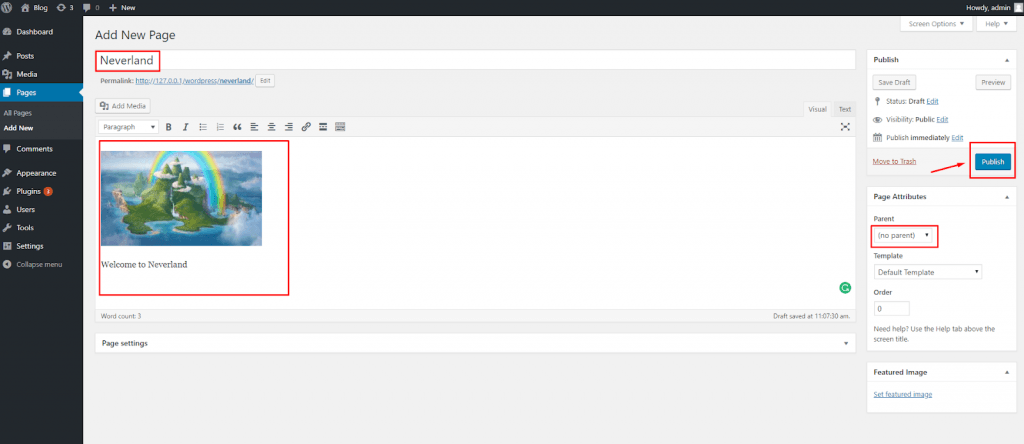
It’s time to build the first page now. Choose Pages > Add new. The interface is almost similar to those you have seen creating a post. You have to enter page name, text and define page attributes. “Parent” option defines how pages will be shown on the website – like an independent part of the menu or a subordinate to some other page. When you are ready – hit the “Publish” button.
On your website, it will look just like a post, but you won’t be able to find it without administration dashboard. To make it visible to the audience you will have to set the main menu and add this page to that menu.
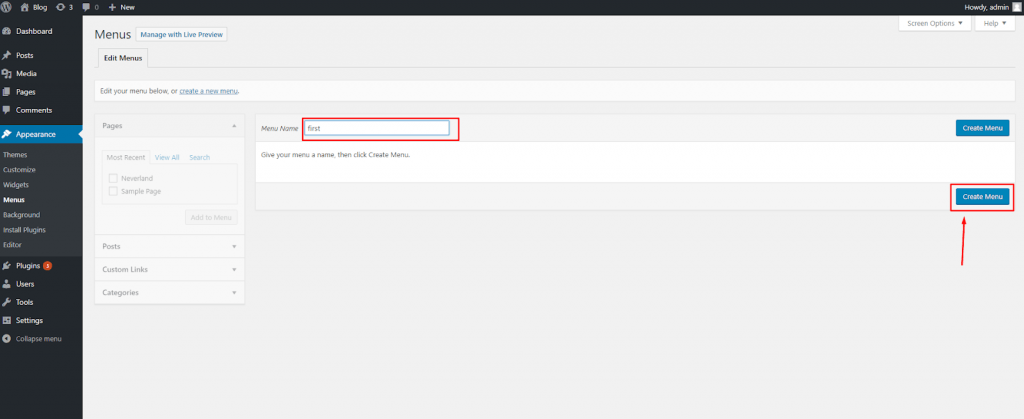
Go to Appearance > Menus, choose a name for your menu and hit “Create menu” button.
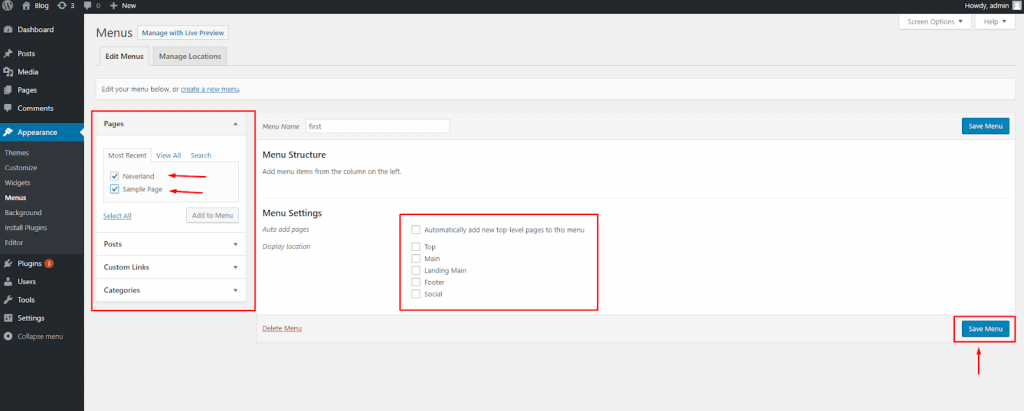
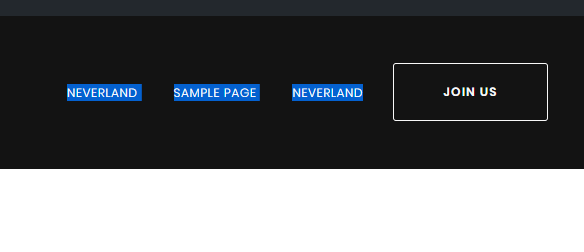
Select pages that will be added to the menu. Make sure you also select the pages’ locations. Then, press “Save menu”. When you check your website, you will see the pages you included in the menu. Congratulations! You understood how to create pages and posts!
Brick 6. We need more details!
While filling your website with content, you will meet some common for everyone issues of perfecting your website’s look. How to set a static front page, change the title, customize comment section? Let’s go through it right now, before you started to invent inspiring texts and design marvelous pictures.
Front page
WordPress chooses a page where all new posts appear on a front page. Those are default settings, but not much of website owners want that page to welcome visitors. Some nicely designed page that will attract attention and encourage users interest is much more appreciated.
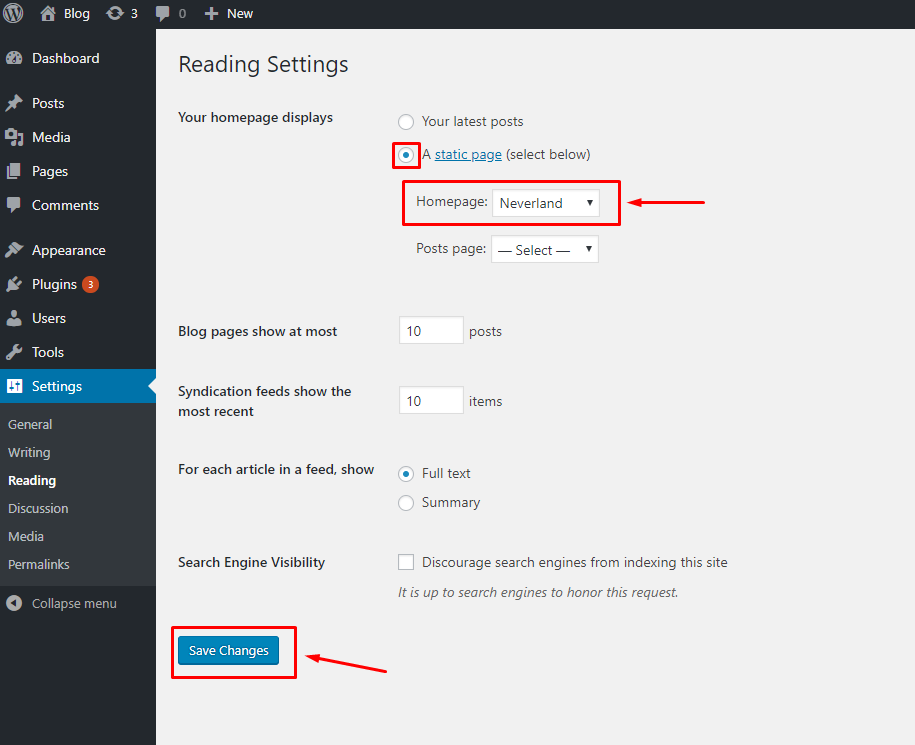
Go to Settings > Reading. In “Your homepage displays” choose “A static page” and select which one will be perfect as websites “Homepage”. When you hit the “Save changes” button, a chosen page will be displayed every time visitors go to the “Home” directory of your website.
Title
It’s not an easy task to think of a cool and trendy website name. It could take hours, if not days. Luckily you have an option to change websites title after setting it at the beginning of website creation process.
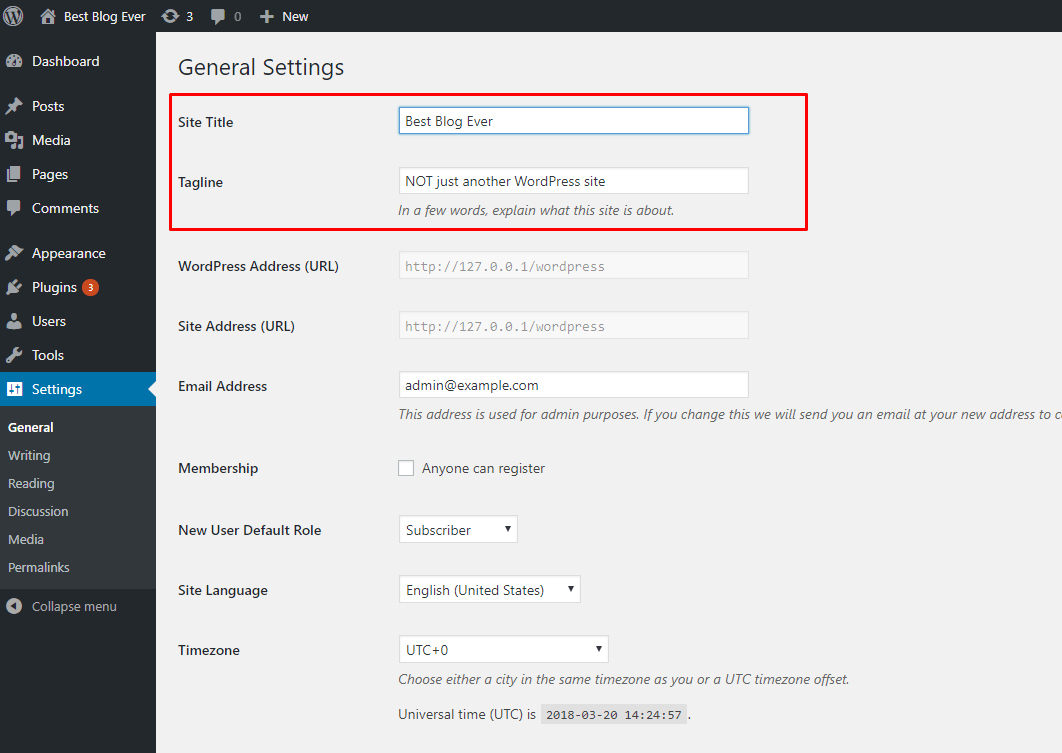
Select Settings > General. At the top of the settings screen, you will see “Site Title” and “Tagline” bars where you could change the text. After you change the boring title name to a witty one – press “Save changes” button at the bottom of the window.
Comments
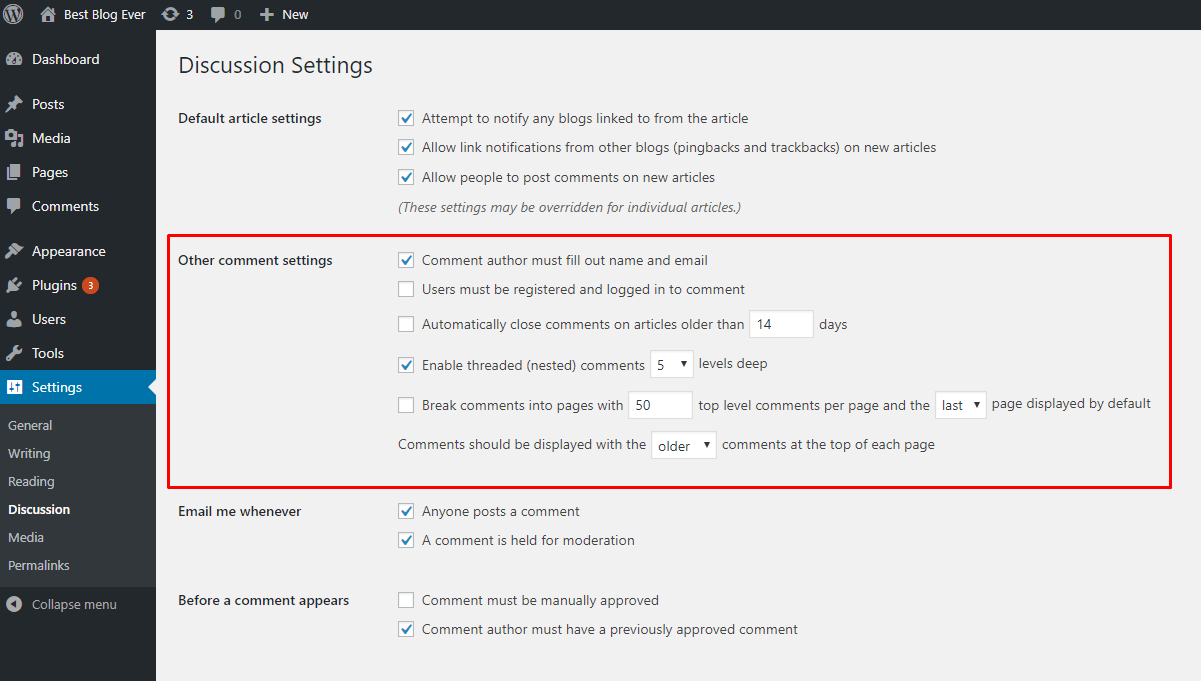
If you write some articles, it is normal that visitors would like to leave a comment. You can choose how that comments will be displayed or do users need to be logged in to live them. Open Settings > Discussion. The “Other comment settings” are a block you are looking for. Go through it, choosing options you consider fitting to your type of blog. Don’t forget to press “Save changes” afterward.
Brick 7. Glitz and glitter
It is obvious that a single template cannot contain everything a user wants. Someone wants a shop; another wants a convenient subscription form, and another one would like to have a mailing option. That’s why plugins were invented – they help to add to your website some functionality that wasn’t built-in by template designers.
There are thousands of plugins, both free and paid, made by developers all over the world. It could be hard for a beginner to find a necessary plugin and then find the trustworthy provider of software. There’s a great article that will give you a clear understanding of how to choose the best WordPress plugins for your site.

Bonus. Where to go to learn more?
This guide gives answers to the most commonly asked questions. Following it will be enough to create a website and a good one. However, some of the website owners find it interesting to learn more about the process. If you are one of that rare kind you probably now have a question “where could I master my WordPress skills?” I prepared a few sources that could help you to get more specific information and become a real master of website building.
WordPress Codex
First, it would be wise to check the WordPress documentation. Developers created a detailed WordPress Codex, that explains most of CMS’s features. That will be a lot of reading, but when you are finished – you will wake up and say that you know Kung-Fu.
Tutorials
This one is for beginners too – real WordPress pro’s in plain language explain how to make an eye-candy of your website. If you already have read a WordPress Codex, you won’t find anything new, but it could be beneficial to start teaching someone else.
TemplateMonster articles
We don’t create a set of guides that will explain everything. We just write articles about some interesting stuff. There are some of us that love WordPress and try to write something useful about it, so if you read our posts with “tutorials” or “WordPress” tags you will certainly learn something new and fresh for your website.

Read Also
How to Stand Out When Using a Website Builder
WordPress Real Estate Themes to Build a Really Spectacular Website
7 Ebooks to Help You Build a Website that Earns You Money While You Sleep
How to Build a WordPress Website in Under 40 Minutes?
WordPress Consulting Themes to Build a Convenient Website
Don’t miss out these all-time favourites
- The best hosting for a WordPress website. Tap our link to get the best price on the market with 82% off. If HostPapa didn’t impress you check out other alternatives.
- Website Installation service - to get your template up and running within just 6 hours without hassle. No minute is wasted and the work is going.
- ONE Membership - to download unlimited number of WordPress themes, plugins, ppt and other products within one license. Since bigger is always better.
- Ready-to-Use Website service is the ultimate solution that includes full template installation & configuration, content integration, implementation of must-have plugins, security features and Extended on-page SEO optimization. A team of developers will do all the work for you.
- Must-Have WordPress Plugins - to get the most essential plugins for your website in one bundle. All plugins will be installed, activated and checked for proper functioning.
- Finest Stock Images for Websites - to create amazing visuals. You’ll get access to Depositphotos.com to choose 15 images with unlimited topic and size selection.
- SSL Certificate Creation service - to get the absolute trust of your website visitors. Comodo Certificate is the most reliable https protocol that ensures users data safety against cyber attacks.
- Website speed optimization service - to increase UX of your site and get a better Google PageSpeed score.

A passionate WordPress monster since 2018. Loves professionally built website templates, is Elementor Page Builder fan and becomes extremely curious when it comes to trying some new site creation tools. Quora account
Get more to your email
Subscribe to our newsletter and access exclusive content and offers available only to MonsterPost subscribers.

Leave a Reply
You must be logged in to post a comment.