Web Design Kitchen. Tasty Facebook Cover Tutorial
The idea of creating something magic and useful at the same time is too tempting for each artist. Designing templates for you on the regular basis is really exciting, but I always wanted to offer something special to the blog readers. At last, the idea came out to me – free stock freebies that would be fresh, spicy, inspirational stuff for designers. A pack of such goodies you’ll get the next week. And today I want to share with you a Facebook cover tutorial based on one of the photos from this fancy pack.
As usual, each Photoshop tutorial starts with an offer to open it, but let’s change this course. As far as the creation of this banner started with quite original idea that was far from web, and only then it was transformed into digital, I offer you to check out the whole process from the very beginning. So, the initial idea was… to bake delicious, tasty cupcakes with eye-candy icing on the top. Sounds trivially? Perhaps. But there is one gimmick making these cupcakes special – they go with WordPress, Joomla, PrestaShop logos on their tops. This post would be incomplete if I didn't share with you a recipe of these fluffy muffins. If you're not a kitchen guru, share it with your friends or relatives, and they will surely bake delicious cakes for you.
Prep: 15 min
Cook: 30 min
- Preheat an oven to 350 degrees F. Grease or line 16 muffin cups with paper liners.
- Beat eggs in a large bowl using an electric mixer on medium speed until smooth and creamy, and only then add sugar, salt, cinnamon. Beat until smooth. Slowly add flour stirring it with wooden spoon.
- Use another spoon to put the prepared mixture into the muffin cups.
- Bake in the preheated oven. Use a toothpick (insert it in the center of a cupcake) to see whether it’s ready. It should come out clean.
That’s it!
Icing and other cake decorations like sprinkles were applied on some cakes. WordPress, Joomla, PrestaShop cake toppers were made using marshmallow fondant and food colors. To see how it’s made, check out any marshmallow fondant recipe online.
Baking and decorating cupcakes was the first step. Then came shooting time, we've arranged them nicely on a A1 paper and shot from different perspectives. One of these fancy photos was taken as a basis for a Facebook cover. We'd like to start its "transformation" from Lightroom.
Tools: Photoshop CS3 or later, Lightroom 3.6.
Facebook Cover Tutorial. Lightroom
When it comes to editing photos there is nothing better than Adobe Lightroom. Probably LightZone user will not agree, but actually tastes differ…
For this tutorial was used Lightroom 3.6, this is not the latest version, but highly usable and is compatible with Windows XP (there are still quite a lot of users fond of Win XP.)
Editing photos in Lightroom is a relatively easy and enjoyable process, all you need is a good tutorial or couple of spare hours during a week.
So, let’s start. First you need to import the photo into the Lightroom, press Ctrl+Shift+I to open the Library, now select the source folder and press Import, all photos located in this folder will be uploaded into the library. Lightroom can work with RAW formats of all cameras, in our case this was .CR2 by Canon.
The picture was shot at 1/200 shutter speed, 5.6 aperture, ISO 100 and 106mm focal length. I was not using either external or internal flash, but used lightbox for macro photography.
The original shot was quite dark that’s why I had to make some Lightroom manipulations to lighten it and give some vibrancy.
Let’s start.
Step 1
I’ve uploaded the shots now it’s time to make the adjustments.
[mfc_lightbox]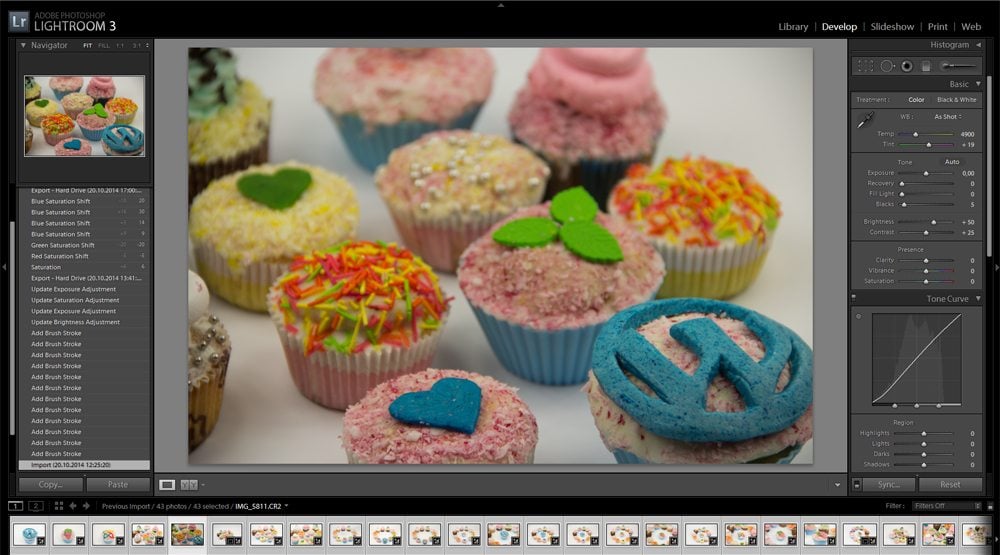 [/mfc_lightbox]
* * *
Step 2
First of all you need to open the Develop mode, take the Brush tool (K), which is in the right upper corner use following adjustments:
- Exposure - 0.8
- Brightness - 78
- Size - 31
- Feather - 100
- Flow - 100
- Density - 100
Using this tool you need to paint over the whole image, it will become quite bright, but that’s the idea. Press Done when finished.
[mfc_lightbox]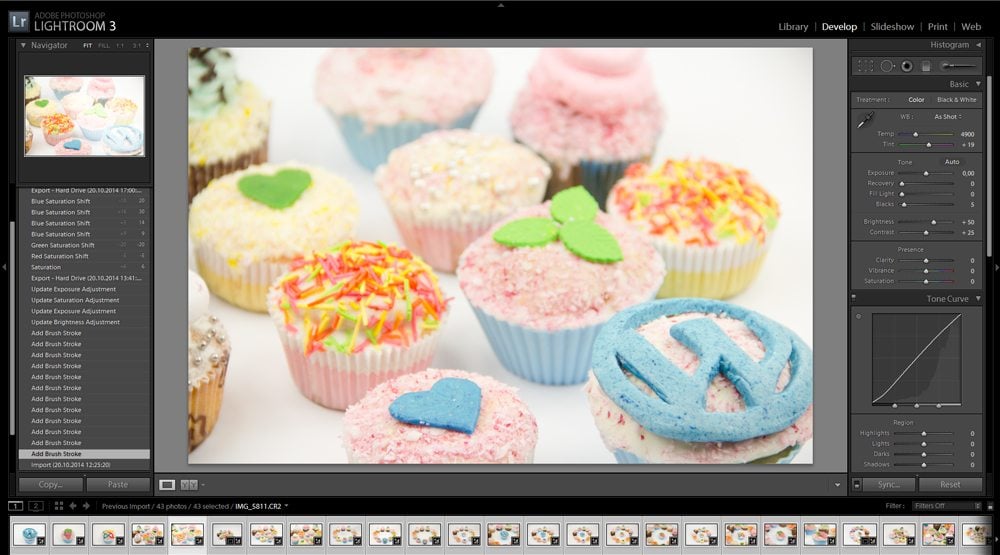 [/mfc_lightbox]
* * *
Step 3
Now using the same brush with similar settings you need to paint over only muffins, don’t touch the background. When you're over press Done.
[mfc_lightbox]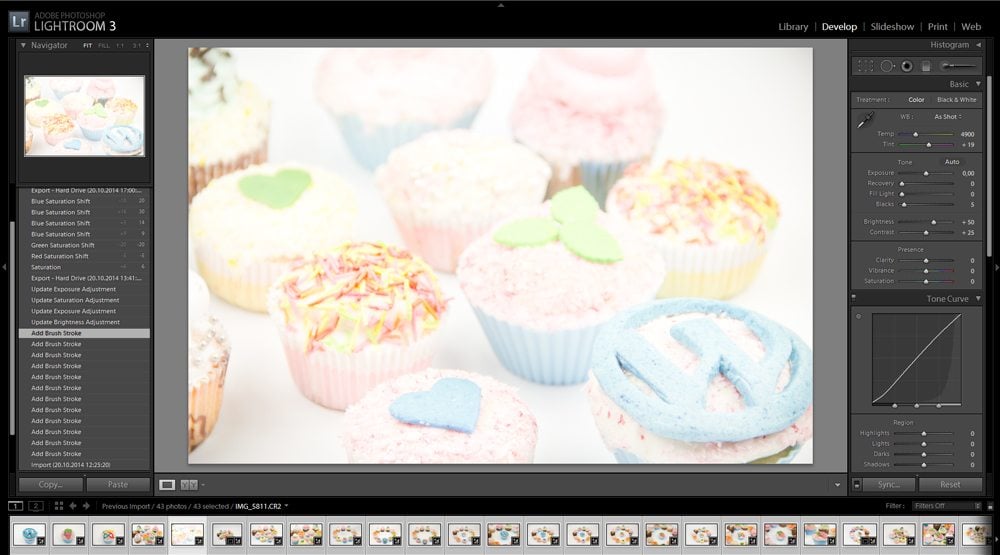 [/mfc_lightbox]
* * *
Step 4
Now it’s time to reduce the Brightness, you have to make these step in order to lighten the background which looks quite grey, in the end you’ll make it look at it is in reality.
[mfc_lightbox] [/mfc_lightbox]
* * *
Step 5
Now you need to reduce Exposure…
[mfc_lightbox]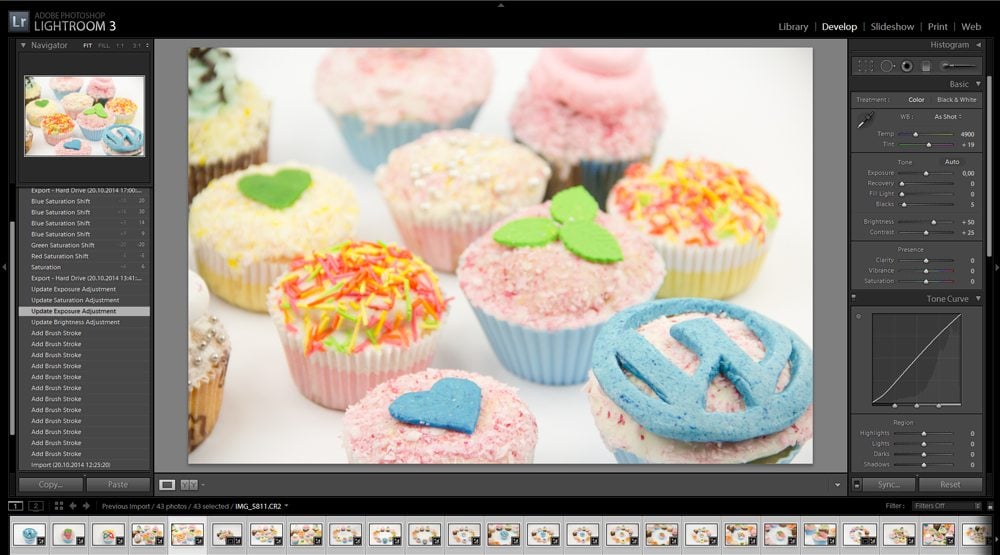 [/mfc_lightbox]
* * *
Step 6
To make color more vivid update Saturation giving it some extra points +5 would be fine.
[mfc_lightbox] [/mfc_lightbox]
* * *
Step 7
Once again reduce Exposure, don’t come it too strong.
[mfc_lightbox]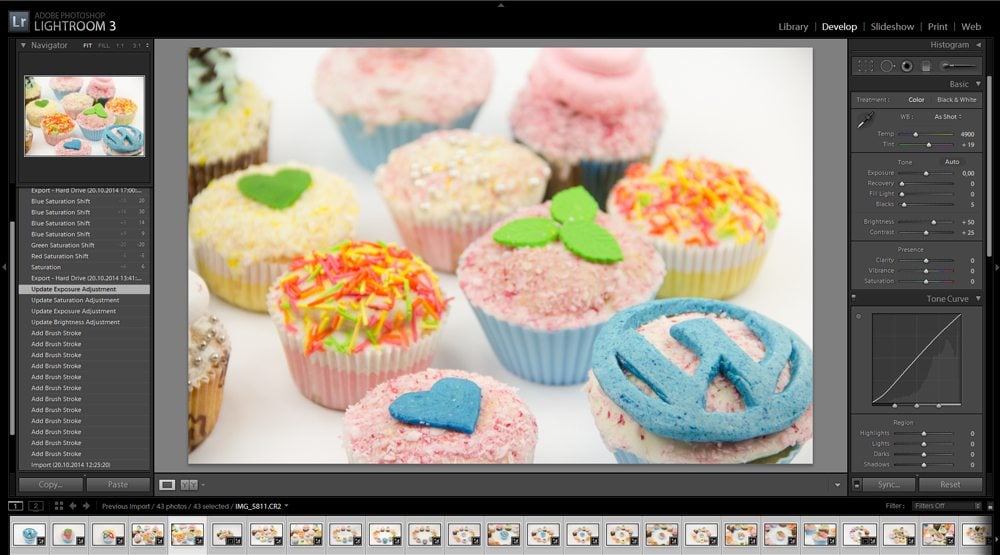 [/mfc_lightbox]
* * *
Step 8
Update Saturation drag the bar to +6.
[mfc_lightbox]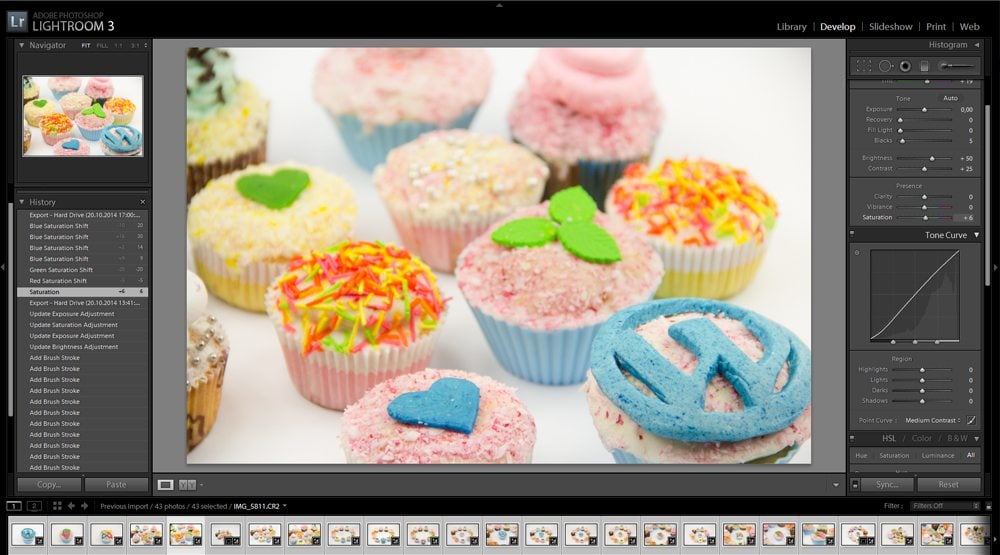 [/mfc_lightbox]
* * *
Step 9
Reduce saturation of Red, set -5.
[mfc_lightbox]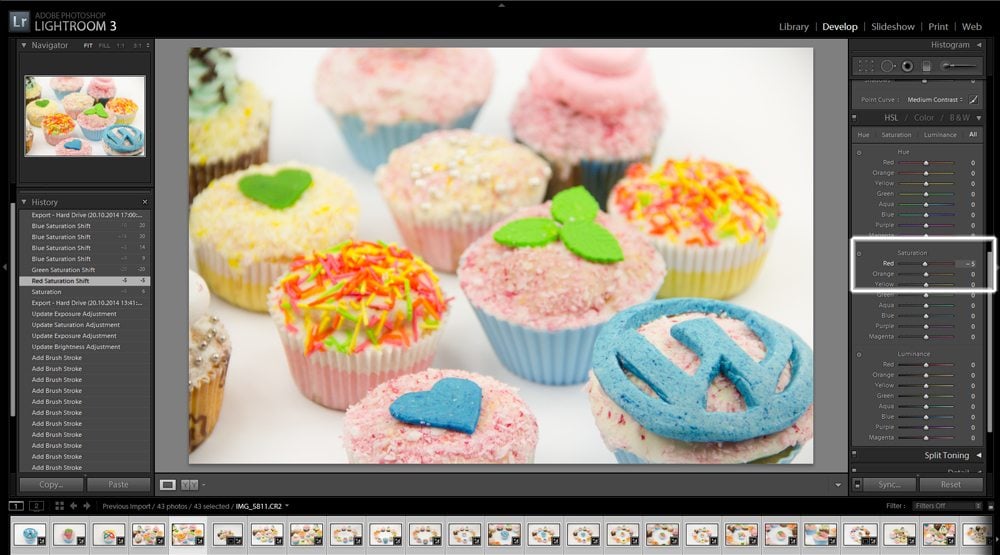 [/mfc_lightbox]
* * *
Step 10
Reduce saturation of Green, set -20.
[mfc_lightbox]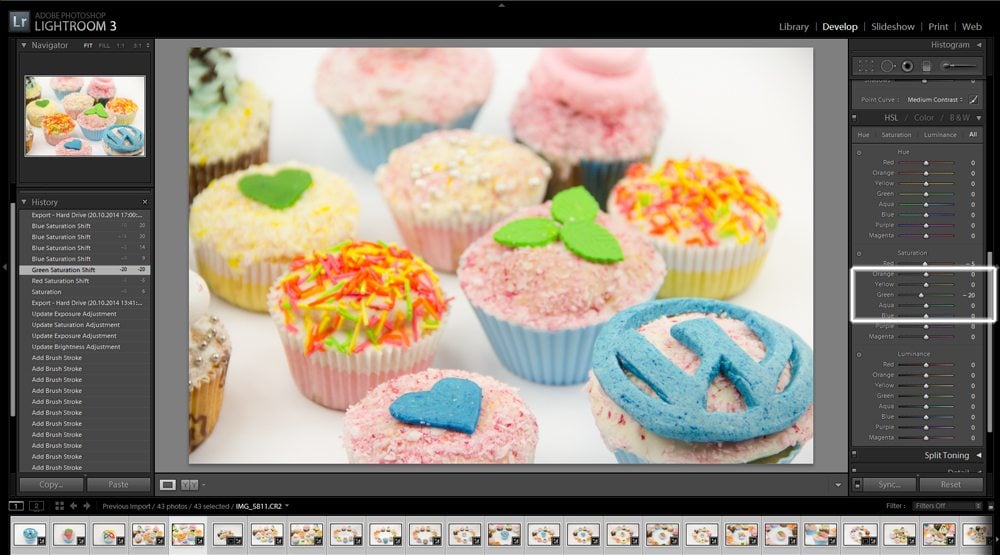 [/mfc_lightbox]
* * *
Step 11
Add saturation of Blue, set +20.
[mfc_lightbox]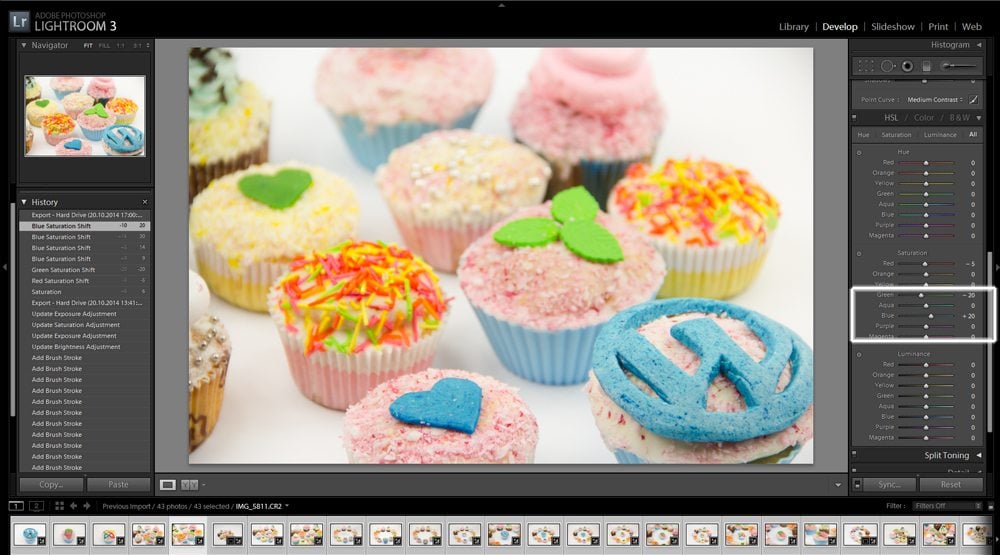 [/mfc_lightbox]
Facebook Cover Tutorial. Photoshop
By Ivy Green.
Now you're done with Lightroom. Let's proceed to Photoshop and see how to make a Facebook cover by several easy manipulations which you are welcome to follow.
[mfc_lightbox] [/mfc_lightbox]
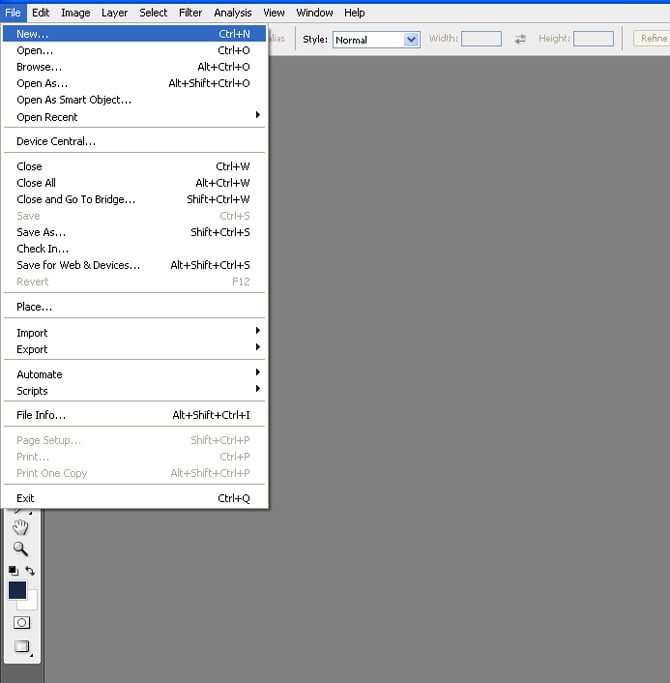
Step 1
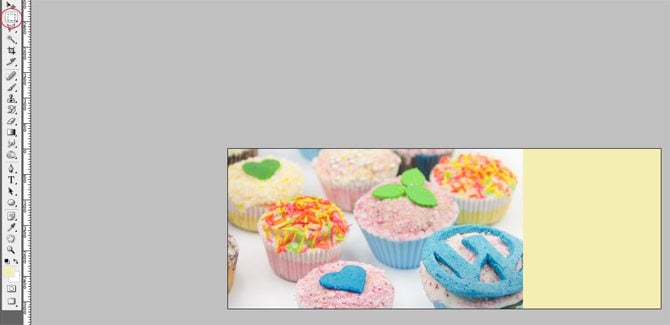
First of all create a new document: Width 851, Height 314
* * *
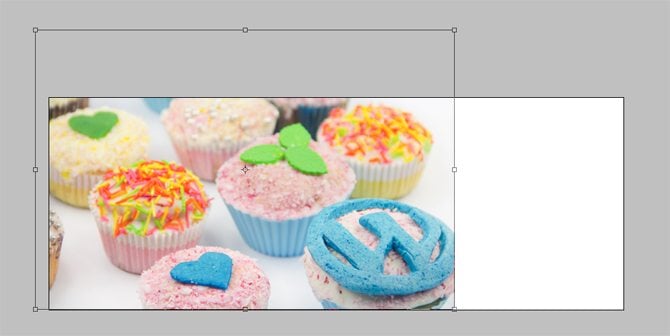
Step 2
Now let’s add the photo of cupcakes and resize it CTRL+T
* * *
Step 3
Make a new layer (CTRL+Shift+ALT). Take Rectangular Marquee Tool (M) and draw a rectangle. Fill it with the color #f5eeb2 (ALT+Backspace).
* * *
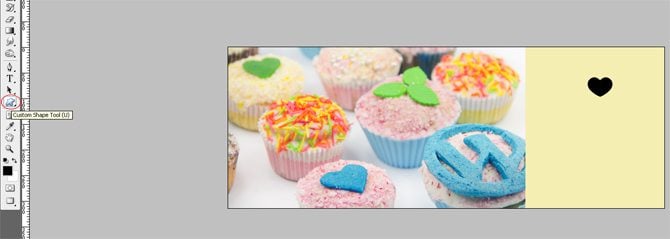
Step 4
Now you will work with Custom Shape Tool. Just choose a heart shape and draw a heart over the yellow rectangle.
* * *
Step 5
Rasterize Vector Mask of the shape, select Pixels (right click), make the layer with the yellow rectangle active and press Delete.

* * *
Step 6
Choose Elliptical Rectangular Marquee Tool select a part of the cupcake and copy it.

* * *
Step 7
Make a new layer (CTRL+Shift+ALT) and press CTRL+V to paste the element you have just copied. Place the layer under the yellow rectangle. As the result you can see a part of the cupcake through the heart shape.

* * *
Step 8
Now let’s work with Horisontal Type Tool and make several white dots.

* * *
Step 9
Rotate the layer with dots CW 90 and make the Opacity 81%.

That is the result you have at the moment:

* * *
Step 10
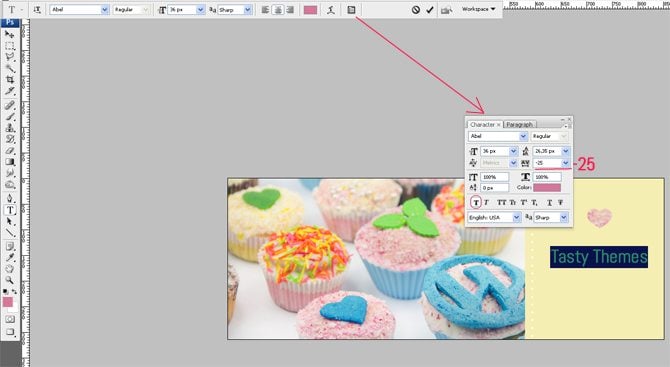
Now the cover has some text elements. To add them to the existing design take Horisontal Type Tool, the color#d5779a. Use Font Abel, Font size 36. Press Faux Bold, tracking for the selected characters -25.
* * *
Step 11
Now type 4U with the color# 84b6da. This time choose Font Open Sans Condensed Light. Press Faux Bold

* * *
Step 12
It is the very time to draw the frame around the words. Take Rectangular Marquee Tool (M) and draw a white rectangle.

Select Pixels. Now make the following: Select-Modify-Contract. Set 1 px and press Delete.
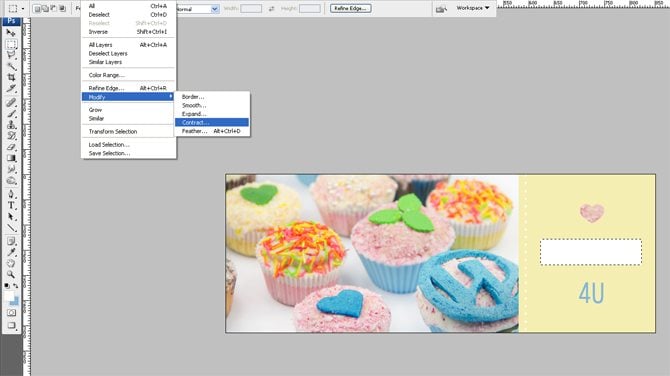
Make Opacity 86%.

* * *
Step 13
In order to make a decorative border we will create a new layer. Take Elliptical Rectangular Marquee Tool and draw a circle.

* * *
Step 14
Duplicate the layer 22 times. Select the layers with the circles to Align left edges and Distribute vertical centers. That’s all. Now you have an original Facebook cover which you've designed yourself.
* * *
That's all for today. Check out my post in a week to get a bunch of cool cupcake photos for free.

Katarina is a content writer, one of those who create all-that-inspirational sometimes technical posts for TemplateMonster blog.
Get more to your email
Subscribe to our newsletter and access exclusive content and offers available only to MonsterPost subscribers.

Leave a Reply
You must be logged in to post a comment.