Photoshop Blend Mode for Cutting-Edge Visuals
Photoshop is no doubt one of the most popular image editing tools among modern graphic designers and digital illustrators. It boasts of a rich feature set, which combines multiple tools for creating and editing your artworks. One of the fastest and easiest ways of attaining cutting-edge designs in Adobe Photoshop is using its blending modes.
I believe all of you have heard about this feature, but for some reason refrained from using it in your works. In theory, the explanation of Photoshop blend modes may sound somewhat complicated, however when one starts practicing it, things get much easier. Our today’s post is mainly aimed at showing how simple and fun using blending modes can be. Allowing to switch between various effects with a click of a button, this feature will let you create breathtaking visuals without much effort. Keep reading to find out what each mode from Photoshop essentials is designed for and check out examples of using these in practice.
What Is Photoshop Blend Mode
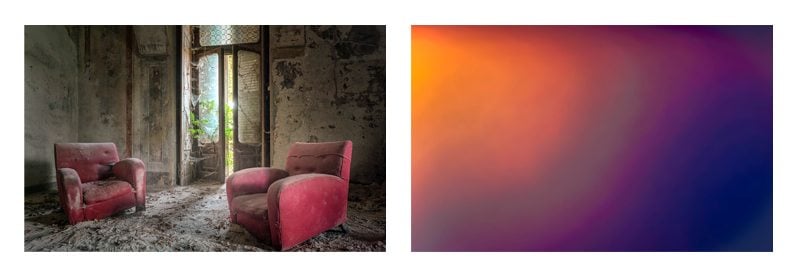
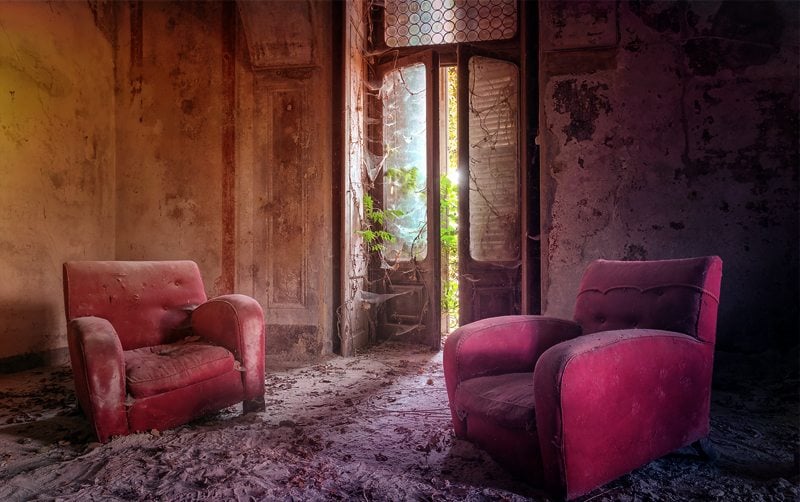
According to Photoshop help, blending modes are used to control how pixels in separate layers interact with each other. The use of this feature is very effective since playing with layers you can control how this or that layer will affect the look of the image and, accordingly, what impact it will have on the viewers. Working with layers and blend mode specifically, you should know about three color groups:
- The base color is the basic color of the image.
- The blend color, which is applied with the painting or editing tools.
- The result color is the one you’ll get in the end of your work.
To apply blending modes, a Photoshop document should have at least two layers. These can be either two completely different images or a duplicate of the one you are working with. To see the effect of the blend mode, you should choose one of the offered solutions from the layers menu and apply it to the top visible layer.
Blending modes can be applied either to images or brushes, meaning that special effects will be applied to one specific area instead of the whole image. So, what types of Photoshop blend modes are available over there? Let’s find it out and see how it works in practice.
Photoshop Blend Modes Explained with Examples
Overall, there are 27 different blending modes divided into 6 groups. The first one includes normal and Dissolve modes, which can be omitted since these are not that helpful in image editing. The rest of groups include:
- Darken, Multiply, Color Burn, Linear Burn, and Darker Color make up the Darken group and are used to literally darken pixels.
- The next group is opposite to the aforementioned one and includes Lighten, Screen, Color Dodge, Linear Dodge, and Lighter Color. All of these modes are used to make pixels look brighter.
- Overlay, Soft Light, Hard Light, Vivid Light, Linear Light, Pin Light, and Hard Mix make up the Contrast section.
- Difference and Exclusion modes are used to point out the difference between layers.
- The last group of the Photoshop blend modes includes Hue, Saturation, Color, and Luminosity modes, all of which are applied to play with color shift.
Now as we’ve come across the general groups of blending modes, let’s find out which purposes each of them is used for and how these can affect the look of your artworks.
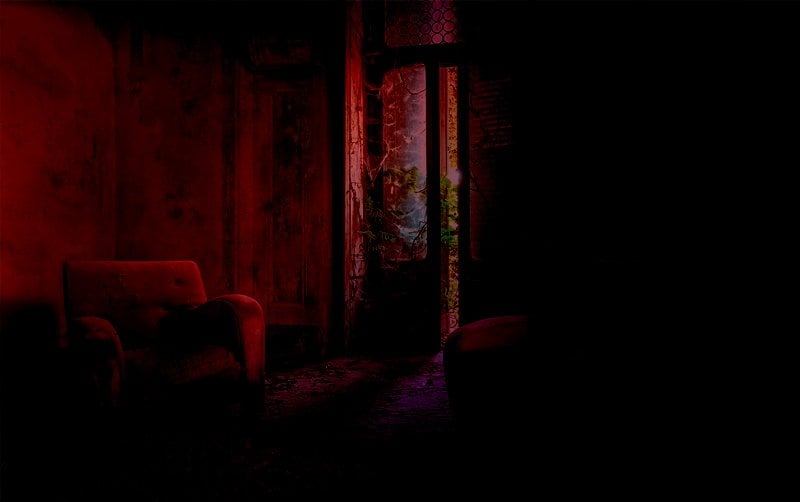
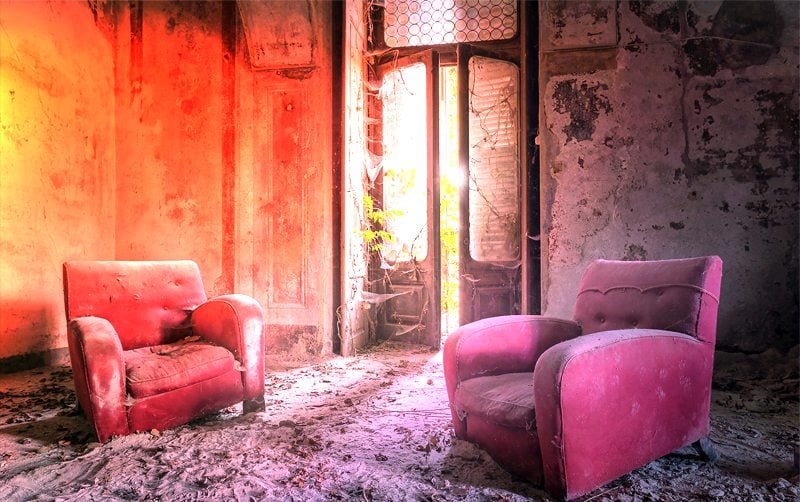
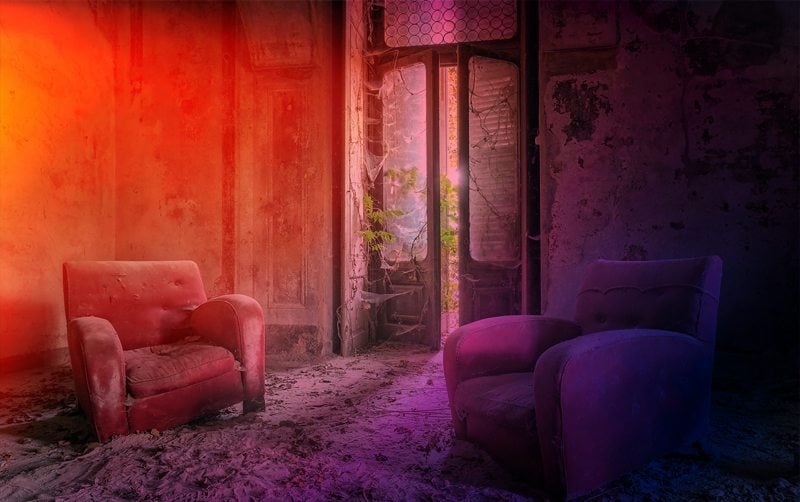
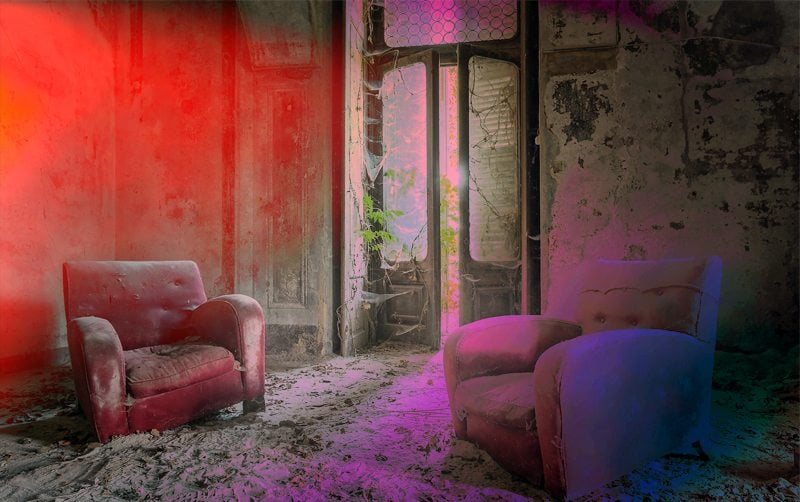
Darken Modes
Various techniques to make images look darker and more contrast have been gathered in this group.

Darken works with the base of blend color, replacing lighter pixels with their darker equivalents and leaving darker pixels without any changes.
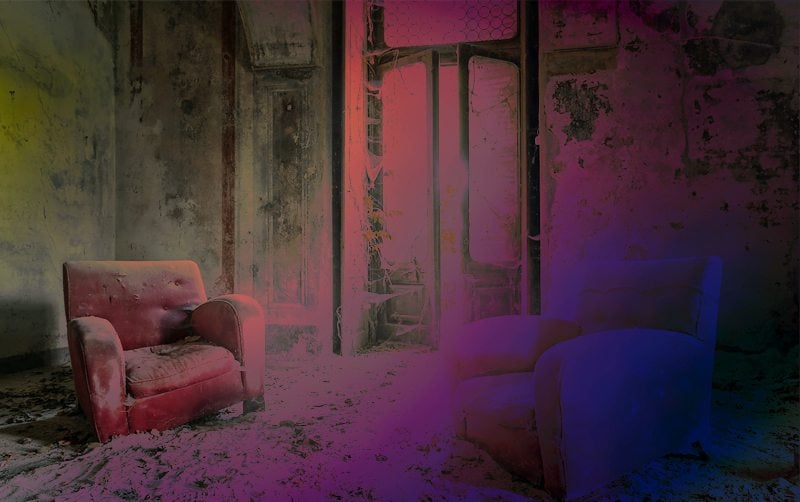
Multiply mode multiplies the base color by the blend color. As a result, you will get a darker color palette. Mind that multiplying any color with black will produce black, whereas multiplying with white will leave the color unchanged. As a result, the images look darker and more vivid.
If you’d like to add a bit of grunge effects to your work, then try Color Burn. It is used to darken the base color to reflect the blend color by increasing the contrast. White color will stay unchanged.
Linear Burn, unlike Color Burn, will only darken the image instead of increasing the contrast.
Darker Color compares all colors in each channel of both layers and displays the darkest of the two.
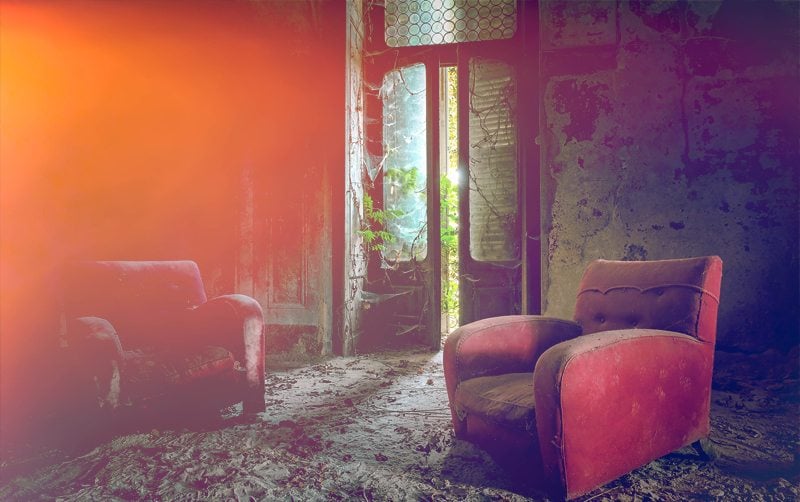
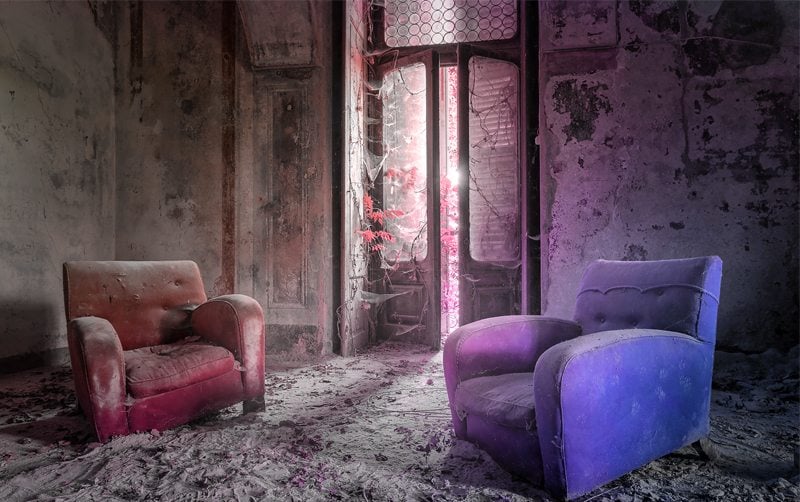
Lighten Modes
In this category light is added in various ways to make colors of your images look brighter.
Unlike the Darken mode, Lighten looks at the color info in each channel and picks the lightest colors from either of them. In such a way, pixels darker than the blend color are changed, whereas pixels lighter than the latter stay unchanged.
To put it simple, Screen is the opposite to Multiply mode. While Multiply makes white pixels disappear, Screen does the same with black pixels, leaving only light hues. Where Multiply produces darker color, Screen makes hues lighter.
Alongside with making colors lighter, Color Dodge mode is used to decrease contrast. No changes are applied to black hues.
Linear Dodge brightens the base color to reflect the blend color. Blending with black produces no changes.
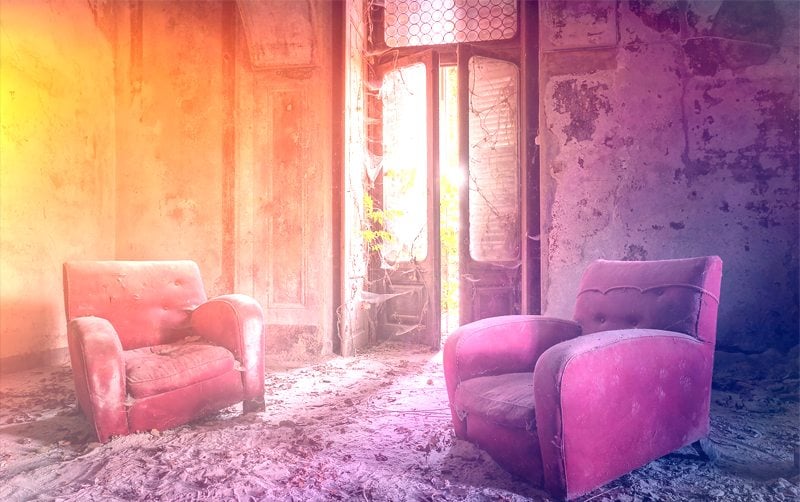
Lighter Color brightens the base color to match the blend color, decreasing the contrast between the two. Black color stays unchanged.
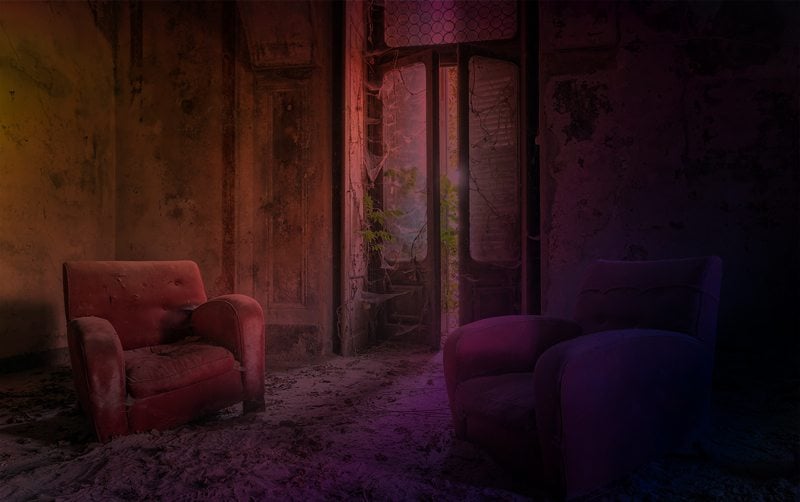
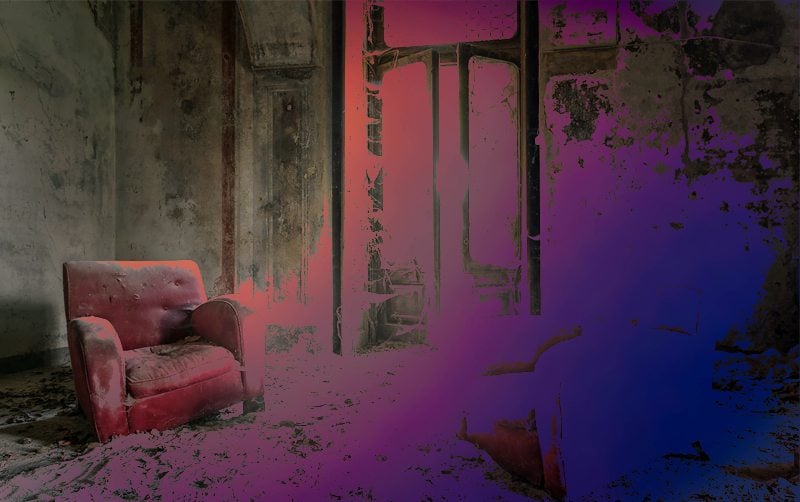
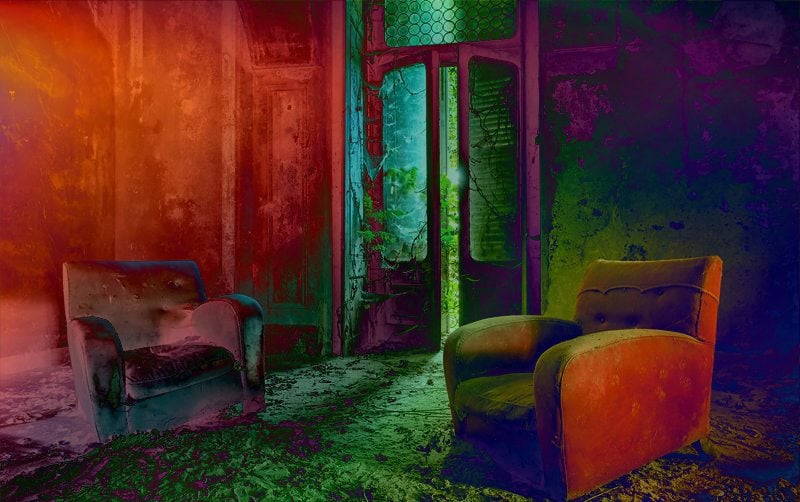
Contrast Modes
These modes are the perfect choice for adding textures, sharpening and toning images.
Overlay multiplies or screens blend colors. Colors lighter than 50% gray get brighter, whereas darker shades get darker. As a result, the two layers are blended together, with the highlights and shadows of the lower layer preserved.
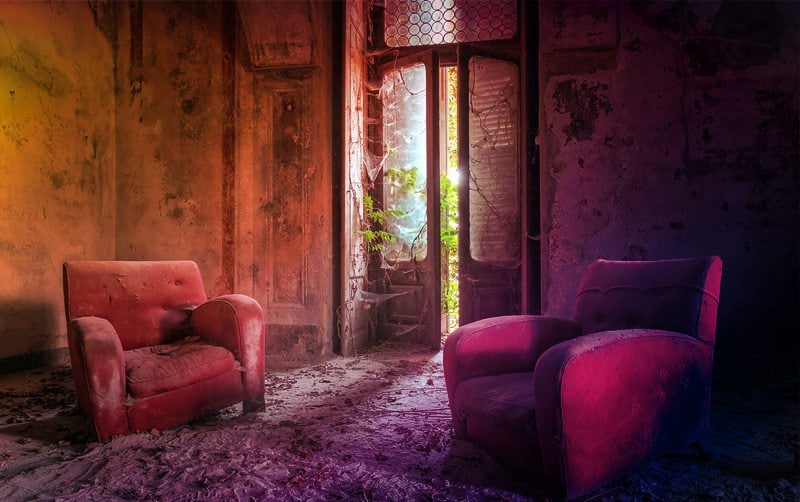
Depending on the blend mode, Soft Light darkens or lightens the colors. If the blend color is lighter than 50% gray, the image is lightened as if it were dodged, whereas hues darker than 50% gray are darkened as if they were burned in.
Hard Light either multiplies or screens colors. If the blend color is lighter than 50% gray, the image gets screened, while blend colors darker than 50% gray result in multiplying it. Applying this mode you will get the effect as is the harsh light shines through the layers.
Vivid Light. If the colors in the bottom layer are lighter than 50% gray, then the contrast is decreased. In case these are darker than 50% gray, the contrast increases.
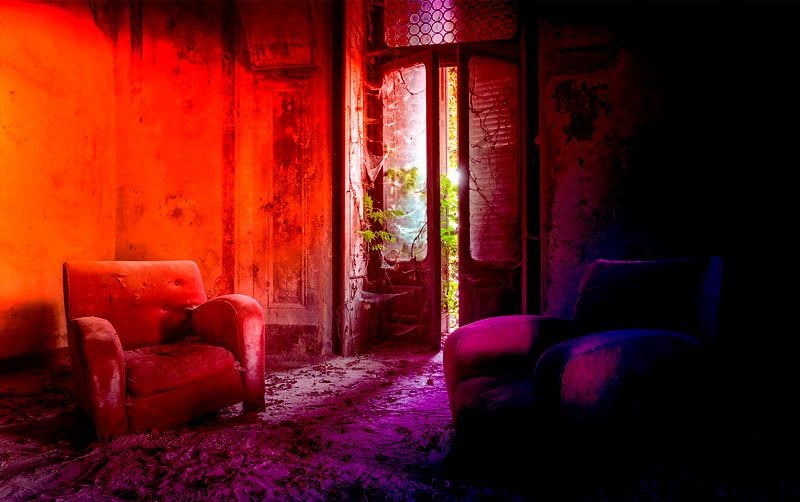
Linear Light increases/decreases the brightness by burning or dodging the colors, depending on the blend color.
If you are looking for the right mode to add special effect to the image, then you should consider Pin Light. When the blend color is lighter than 50% gray, pixels darker than it are replaced, while lighter hues stay unchanged. Working with the blend color darker than 50% gray, pixels lighter than the latter will be replaced. Darker colors won’t undergo any changes.
Hard Mix will change the image dramatically. It will check colors on each level of the blend color and add red, green and blue hues to the RGB values of the base color.
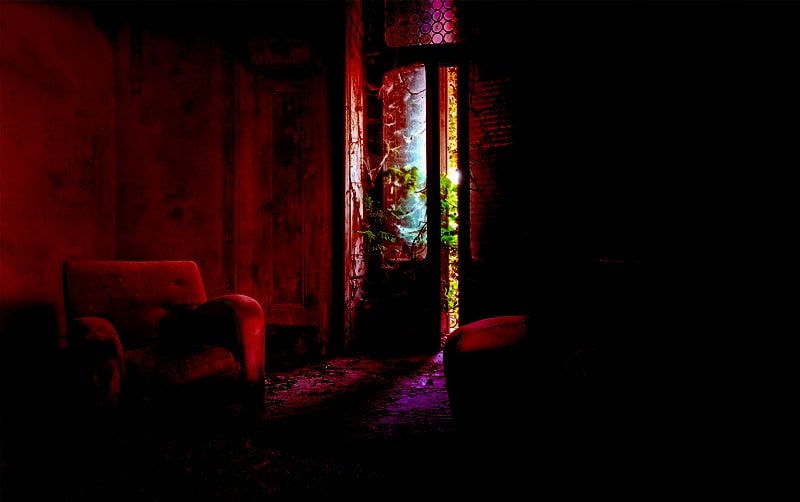
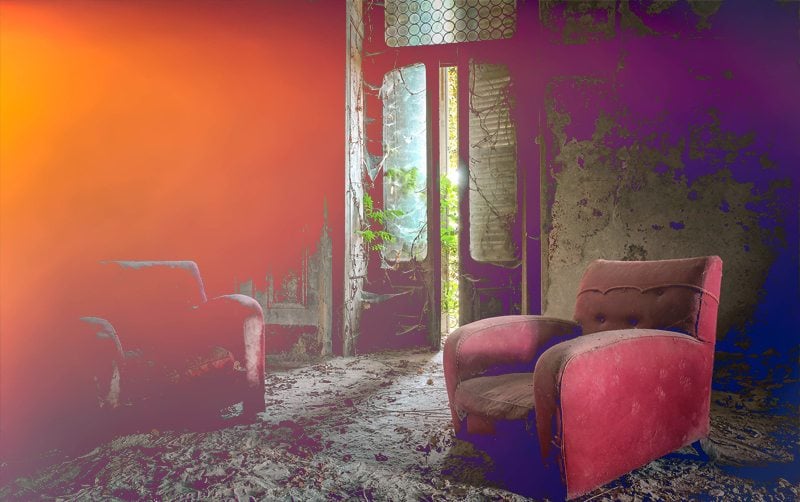
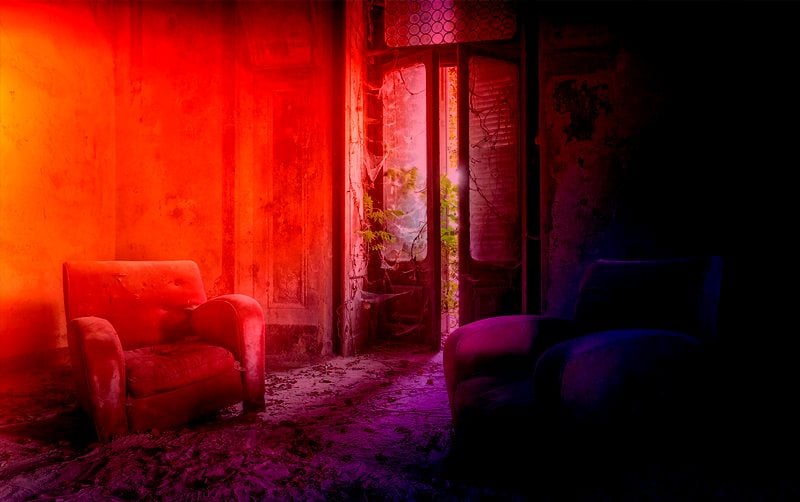
Difference Modes
The following modes are used to create new colors based on the differences between the values of the top and bottom color layers.
Difference. Black hues of the top layer stay unchanged. Depending on which color has higher brightness value, it subtracts the blend from base color or vice versa.
Exclusion does the same manipulations as the Difference mode, but the result color has lower contrast.

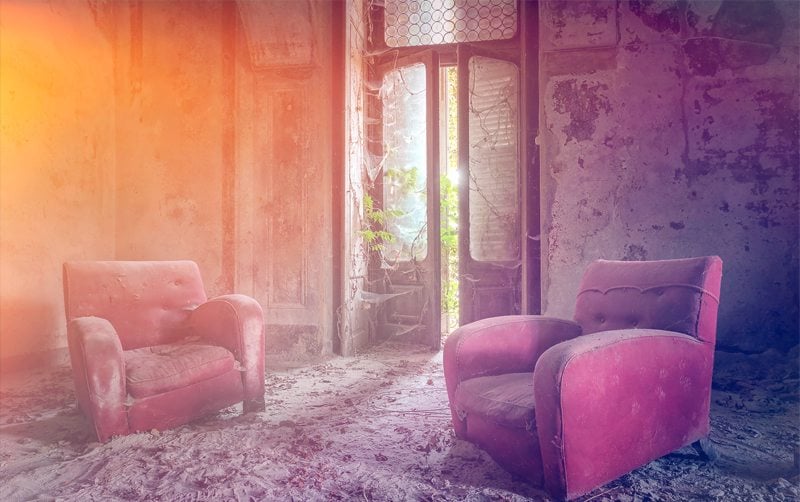
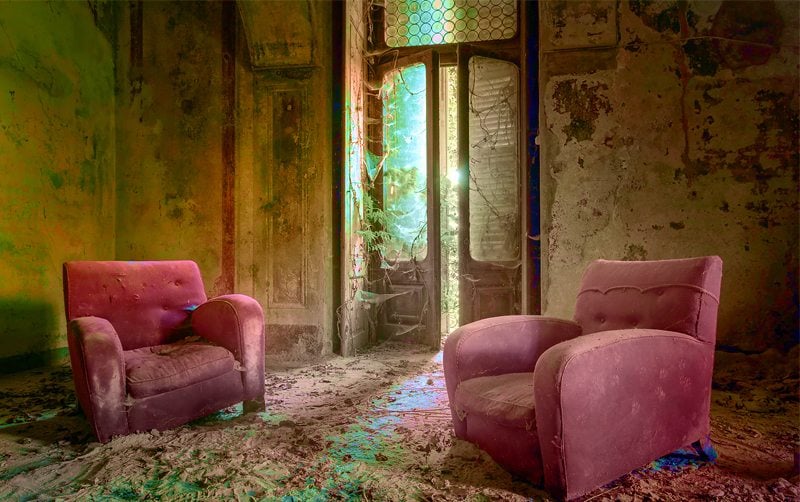
Colors
With the help of the following four blend modes you will be able to change the specific color feature like hue, saturation or lightness.
Hue applies hues of the top layer to the bottom layer. Here the luminosity and saturation of the lower later are combined with the top layer hues.
Saturation works similar to the hue mode. Here the saturation of the top layer is applied to the bottom one.
Color mode is used to apply hues of the top layer to the bottom one by combining the hue and saturation of the top later.
Luminosity combines the hue and saturation of the bottom layer with the luminiosity of the colors in the top layer.

To Conclude…
Being able to edit images and create beautiful effects will help making your designs more remarkable and attract crowds or new clients. Adobe Photoshop can be truly called one of the best solutions for getting the necessary results without spending much time and effort. It boasts of a rich feature set, with plenty of tricks to make your artworks more vivid and appealing. All you need to do is discovering its mysteries, and blending modes are no doubt part of it.

Get more to your email
Subscribe to our newsletter and access exclusive content and offers available only to MonsterPost subscribers.

Leave a Reply
You must be logged in to post a comment.