- Theme customization - part 2
- Adding copy
- Mix of Sales & SEO copy
- The structure of copy
- Self-written copy or outsourced?
- Adding texts to the pages
- Other pages
- Adding and setting up a contact form
- Adding Google Maps
Hello dear friend,
We’ve already installed most of the important site elements, so now it’s time to talk about the content. In this tutorial we’ll take a look at website content and all the related aspects. Let’s start with the basics and create the first post on your website. Probably we’ll write something like “Hello world”.
To start creating your first post you need to go to: Dashboard > Posts > Add New. On this page you will see a bunch of editing options. Here are some basics of post creation:
- Stop using clichés. Be original.
- Know your audience and adjust your language accordingly. Do they like humor? Be funny. Do they like straightforward information? Be direct and informative.
- Stop using overzealous punctuation. We’re talking to you, guy-who-always-uses-three-exclamation-points-instead-of-just-one.
- Don’t be condescending in your language.
- Make your writing clear and easy to read. Make sure each and every section houses a relevant, meaty point about your topic.
- Headings,
- subheadings,
- bullet points,
- numbered lists,
- bolding,
- italics and underlining
- Be engaged in what you’re writing about—that’s the only way the writing will be inspiring and thus, more attractive to your reader.
- Titles are important; a weak title paired with strong content is the same as a weak title paired with weak content. Why? Because you have to catch the fish before you can eat it.
- Always brainstorm titles.
- Once you settle on a title, ask someone what they think of it. If they aren’t enthusiastic, consider changing it.
- Avoid cheesy word usage, unless you’re using the word ironically.
- Don’t use jargon.
- Utilize videos/images or cinemagraphs to illustrate your texts.
- Don’t be afraid to be memorable, but not at the cost of being grammatically correct.
- Compel your readers with noticeable wordplay when you can.
If you're not so good at writing you can enroll to some copywriting courses. Check out following resources:
Copyblogger - powerful website on online marketing and copywriting.
List.org - online copywriting courses.
Quicksprout - online guide to copywriting.
It's also important to write SEO optimized copy, especially if you are selling some stuff on your website. There are several reasons why your content should be search engine friendly. First of all, optimized copy increases conversion rates and boosts traffic. This feature is vital for any website that tries to reach more visitors and convert them into customers. Remember that your content should be informative and easy to read, unless you want to lose a great part of your audience.
Do not overload the text with long and pointless keywords. Even if your website will be ranked high in Google search results, but the content is unclear or useless, you won’t see a noticeable change in traffic growth. The point is that you have to develop a proper marketing strategy closely connected with the content you post.
Basically, writing a SEO copy is much easier than it may seem. Just stick to these 4 basics:
- Work 1-2 long tail keywords in your copy naturally. The same keywords can be used in meta description, title and URL.
- Optimize images with alt text. Important: Describe the image in the alt text as it is, use only one short keyword.
- Use links. This point is quite important. Link 1 or 2 internal posts – the posts from your website related to the subject, and 1-2 external posts from other resources with high ranking. It’s also recommended to link keyword phrases and have every link opened in a separate window.
Overall if you’re not going to write texts, you can outsource these tasks to freelance writers. There are many resources where you can easily create new projects and hire a writer:
- Fiverr.com
- Odesk.com
- Freelancerbay.com
- Freelancer.com
- Elance.com
No matter who will write the text, eventually, you are the one who will publish it. So let’s take a closer look at how to add new content to the page.
First of all, log into your WordPress admin and follow these steps:
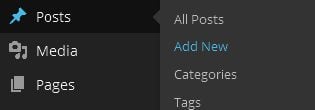
- Find “Posts” in your dashboard.
- Click the “Add New”.

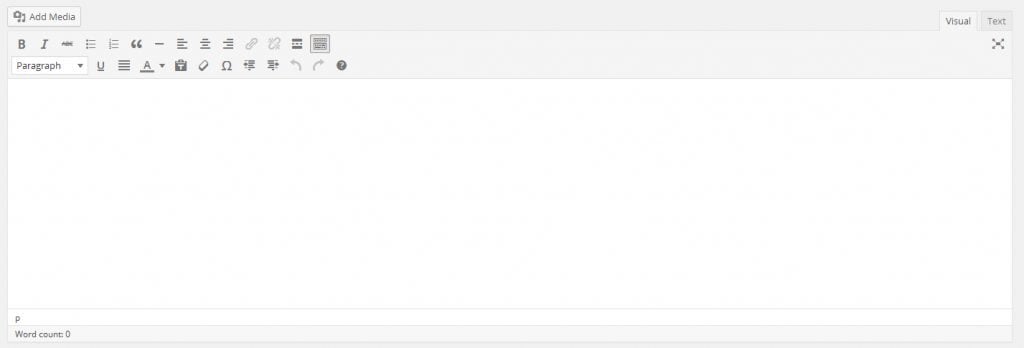
- Fill in all fields starting with the Title.

- Enter your post copy in the content box below.

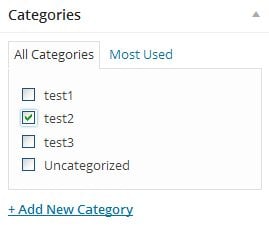
- Select a category to which you want add your post, in case there are none, create relevant category covering the content you're going to post.

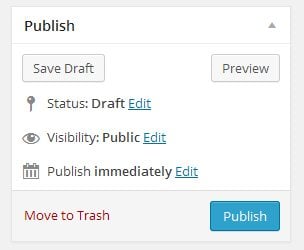
- When everything is done, press “Publish”.


So far so good!
Well it’s now time to talk about adding plugins that can be useful for your website.
Contact form is a must-have plugin for any modern site or blog. Our Cherry Framework includes an inbuilt Contact Form 7. Let’s take a look at how to adjust it.
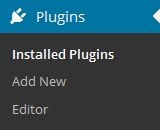
- Go to “Plugins” > “Installed Plugins”
 You can see that the plugin is already installed
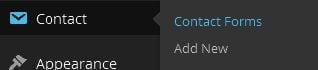
- Go to “Contacts”>“Contact Forms”

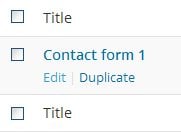
- Here you can find a contact form created by default. Press “Edit” to customize it.

- Change the title of the contact form and press “Save”.

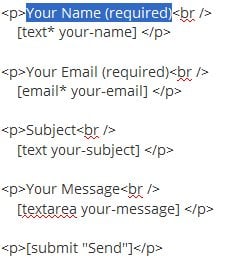
- In the Form field you can add any sections you like, between <p></p> tags.

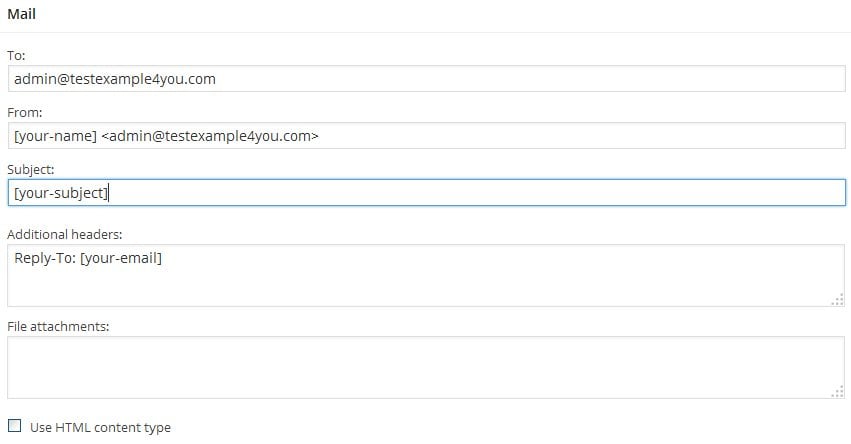
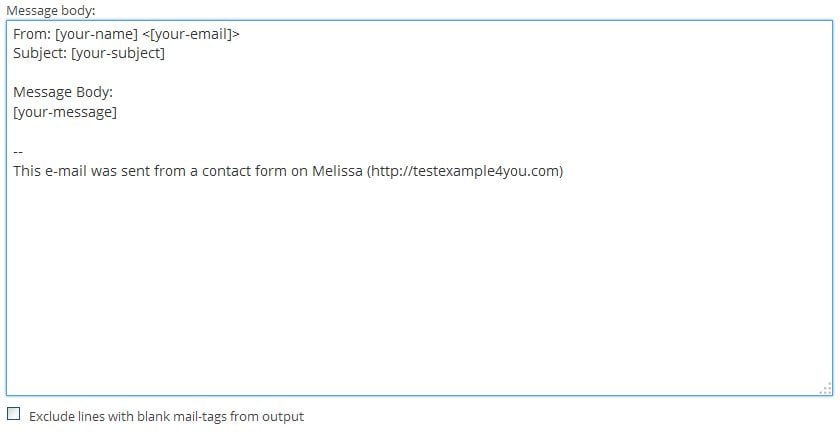
- In the Mail field you can also change the text in the fields.


- Copy the code of the Contact Form and paste it into your post.

 You can see that the plugin is already installed
If you need to create a contact form from scratch check our video tutorial.
Another plugin that can be useful for your website is Google Map. This feature allows you to show your address and coordinates on the map, so that visitors are able to find your location much faster.
Check an online tutorial from TM, or insert Google map using shortcode.
That’s all for this segment. Hope you experience no troubles with this part. If you have any questions feel free to drop them in the comments below.
If you missed our previous tutorials, check them below.
How to Setup WordPress Engine and Install a Template?
How to Customize Your Template